
Video Tutorial: Step-by-Step Setup Guide
Prefer watching over reading? Check out our comprehensive video guide where we walk you through the entire process of setting up Pickup Points PRO. In just a few minutes, you will learn how to unlock thousands of global pickup points for your store.
In this video, we cover:
- The Game Changer: Why you don’t need any carrier contracts or API keys to start.
- Configuration: A quick look at the essential settings.
- Integration: How to add pickup points to your existing shipping methods (Flat Rate, Flexible Shipping, etc.).
- Live Preview: See exactly how the interactive map looks and works for your customers at checkout.
Text Tutorial: Step-by-Step Setup Guide
Once the Pickup Points PRO plugin is installed and activated, the following Pickup Points PRO option should appear at WooCommerce → Settings → Shipping:

Click it to reach the Pickup Points PRO General Settings:
Pickup Points settings
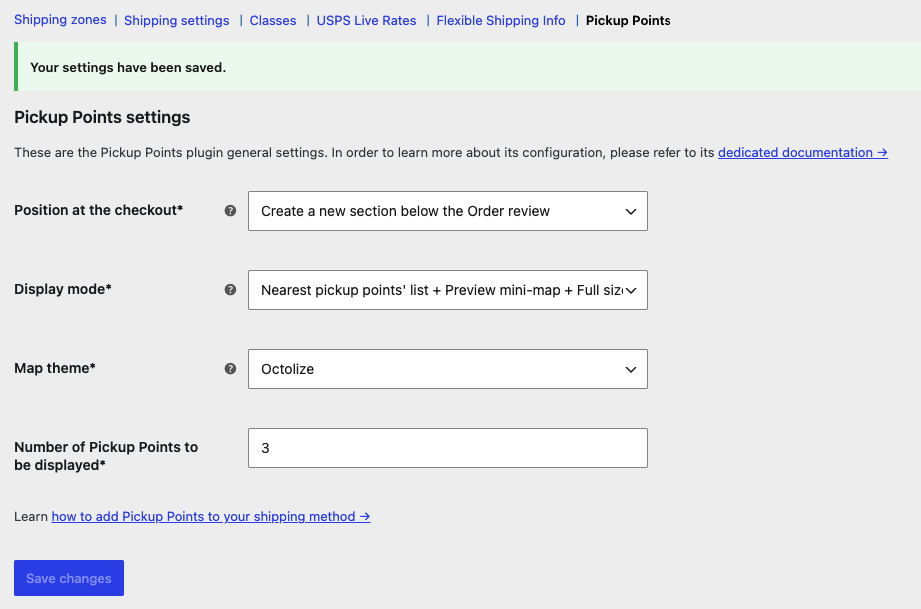
Position at the checkout
– select the place on the checkout page where the pickup points should be displayed. Pick the most suitable one in your case by choosing from the available options:Under the shipping method – the pickup points will be displayed directly under the shipping method they have been enabled for:
Under the shipping method – the pickup points will be displayed directly under the shipping method they have been enabled for:
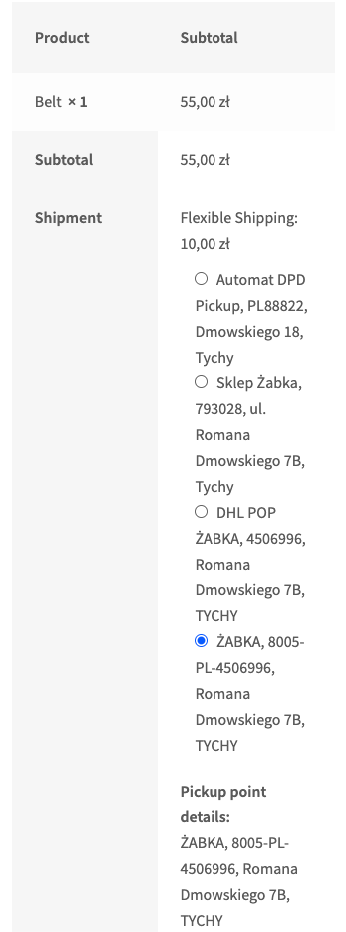
Below all the shipping methods – once the shipping method with the enabled pickup points functionality has been selected, the pickup points will be displayed below the list of all available shipping methods:
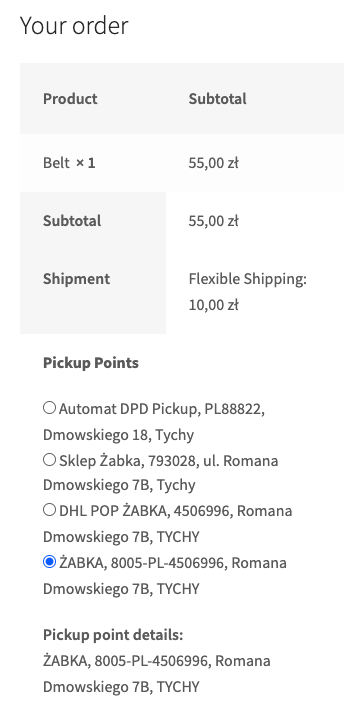
Create a new section below the Order review – once the shipping method with the enabled pickup points functionality has been selected, the pickup points will be displayed in a new dedicated section between the Order review and the payment options:
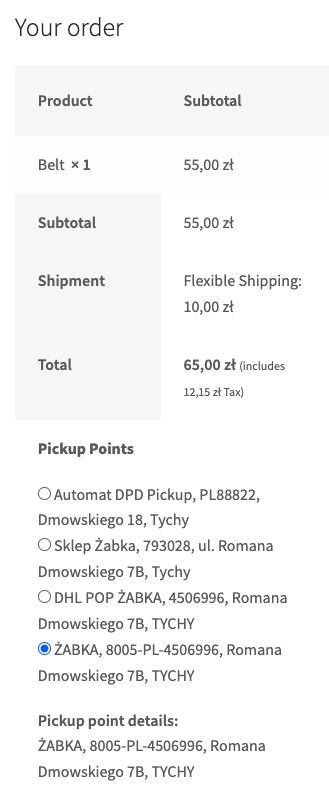
Display mode
– define a way how your customers will be able to choose the preferred pickup point to ship the ordered products to.
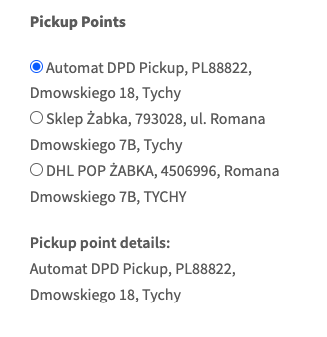
Nearest pickup points’ list – from the list of the suggested pickup points nearest to the shipping address they entered at the checkout:
Nearest pickup points’ list + Preview mini-map – from the list of the suggested pickup points nearest to the entered shipping address with a preview mini-map below showing the selected pickup point’s location:
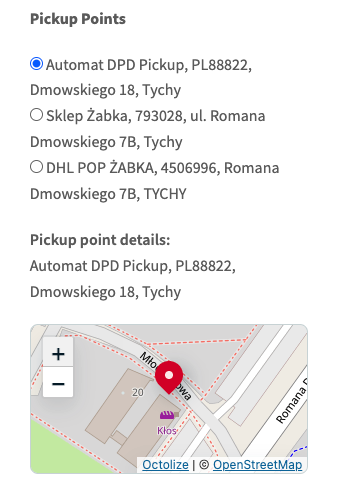
NOTICE: The mini-map will only be shown once you select a pickup point.
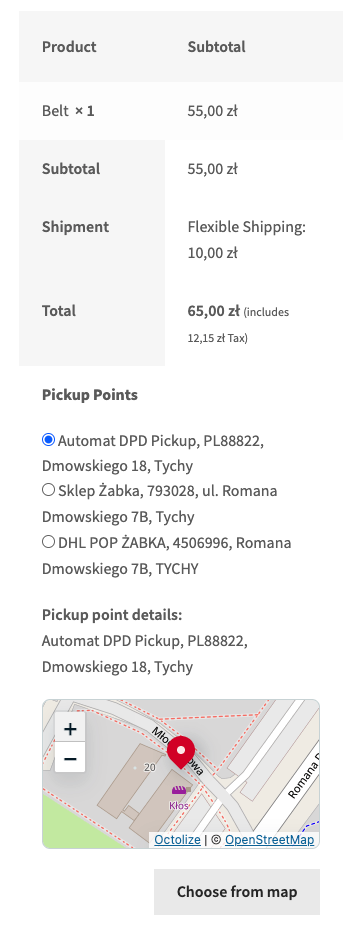
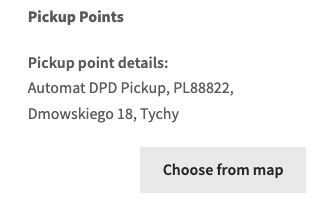
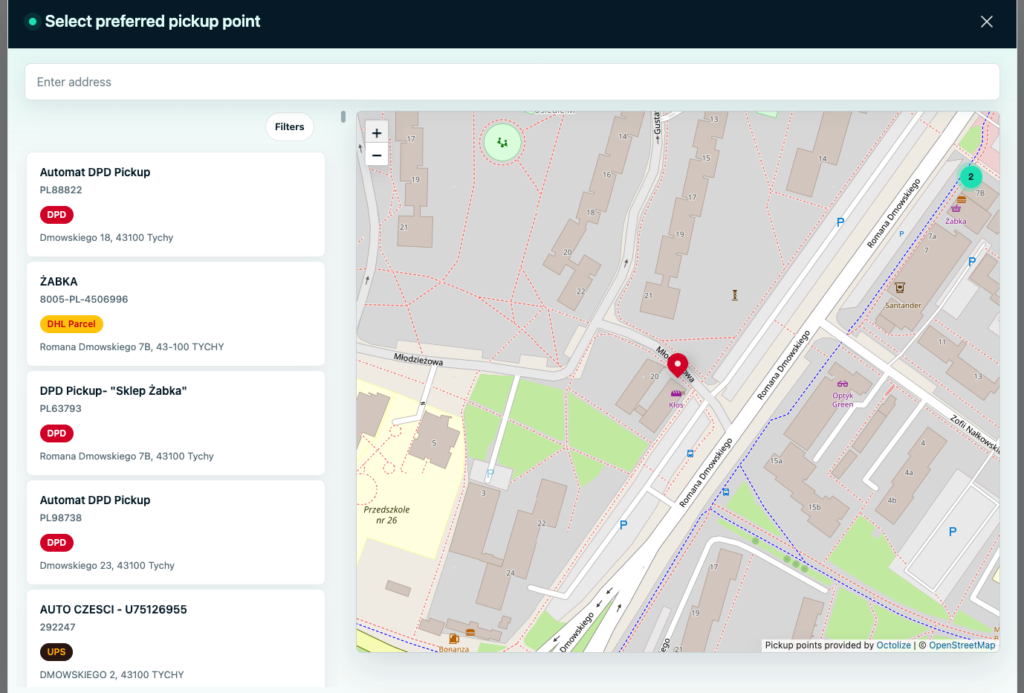
Nearest pickup points’ list + Preview mini-map + Full size pop-up map – from the list of the suggested pickup points nearest to the entered shipping address with a preview mini-map below showing the selected pickup point’s location and the Choose from map button opening the full size pop-up map with all the available pickup points:
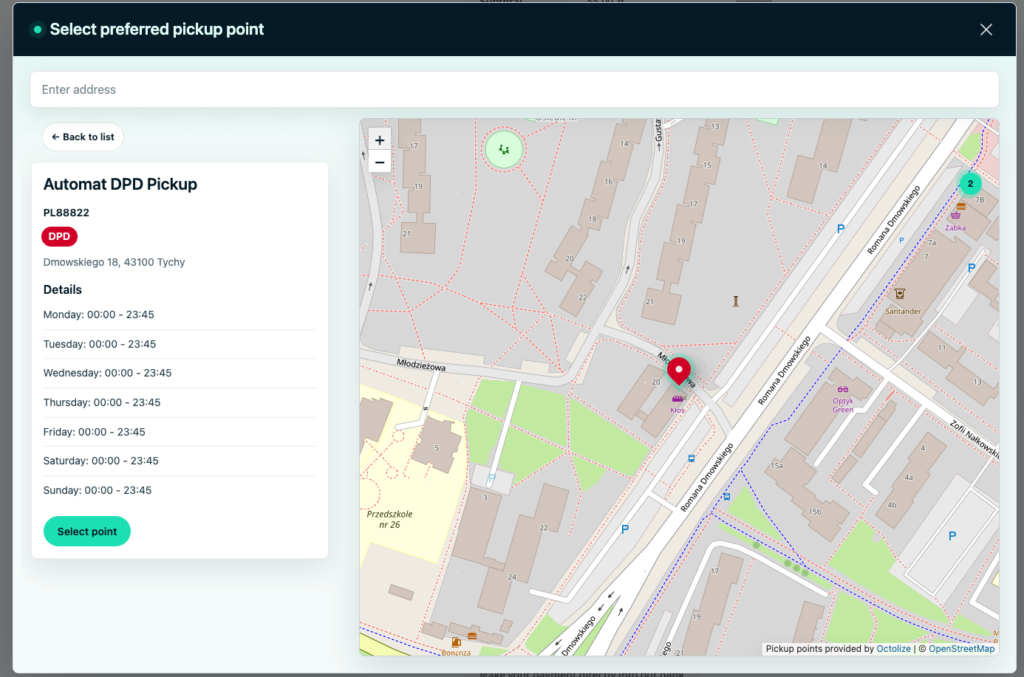
Full size pop-up map only – only from the full size pop-up map with all the available pickup points opened by hitting the Choose from map button:
Map theme
You can choose the colouring of the map. Additionally you can modify the colouring with the usage of CSS.
How to customize the Pickup Points map with custom CSS
Pickup Points PRO includes predefined map themes, but you can also adjust the map appearance with your own CSS.
To make custom CSS work correctly, first set the map theme to None in the plugin settings. Other predefined themes may override parts of the map styling, so custom CSS should be used with the None theme selected.
Step 1: Set the map theme to None
- Go to WooCommerce → Settings → Shipping → Pickup Points.
- Find the Map theme option.
- Select None.
- Save changes.
Step 2: Add your custom CSS
You can add custom CSS in your WordPress admin panel:
Appearance → Customize → Additional CSS
You can also add the CSS to your child theme stylesheet if your store uses one.
Example: accent color
The example below changes the main accent color of the map popup, buttons, markers, and selected point mini map to purple.
/* Pickup Points map popup */
.flexible-shipping-map-popup .modal-content {
	border-color: #7c3aed;
}

/* Popup header */
.flexible-shipping-map-popup .modal-header {
	background: #4c1d95;
	color: #ffffff;
}

/* Buttons */
.flexible-shipping-map-popup .btn-primary,
.fs-points-point-details-open-map-button {
	background-color: #7c3aed;
	border-color: #7c3aed;
	color: #ffffff;
}

.flexible-shipping-map-popup .btn-primary:hover,
.fs-points-point-details-open-map-button:hover {
	background-color: #6d28d9;
	border-color: #6d28d9;
}

/* Map markers */
.flexible-shipping-map-popup .fs-point-map-marker {
	--fs-marker-bg: #8b5cf6;
	--fs-marker-border: #4c1d95;
	--fs-marker-dot: #ffffff;
}

/* Selected point mini map */
.fs-points-point-details-preview-map .leaflet-container {
	border: 1px solid #c4b5fd;
	border-radius: 6px;
}
Notes
- Use the None map theme when applying custom CSS.
- If your CSS does not appear on the checkout page, clear your cache and check whether your theme or optimization plugin combines or delays CSS loading.
- Future plugin updates may affect the CSS selectors, so review your custom CSS after updating Pickup Points PRO.
Number of Pickup Points to be displayed
– decide how many suggested pickup points should be displayed to your customers to choose from at the checkout.
Once you’ve configured all the required options marked with an asterisk (*) here, it’s time for Adding the Pickup Points to the shipping method →