Registering a UPS account takes only a few minutes. We’ll guide you step by step.
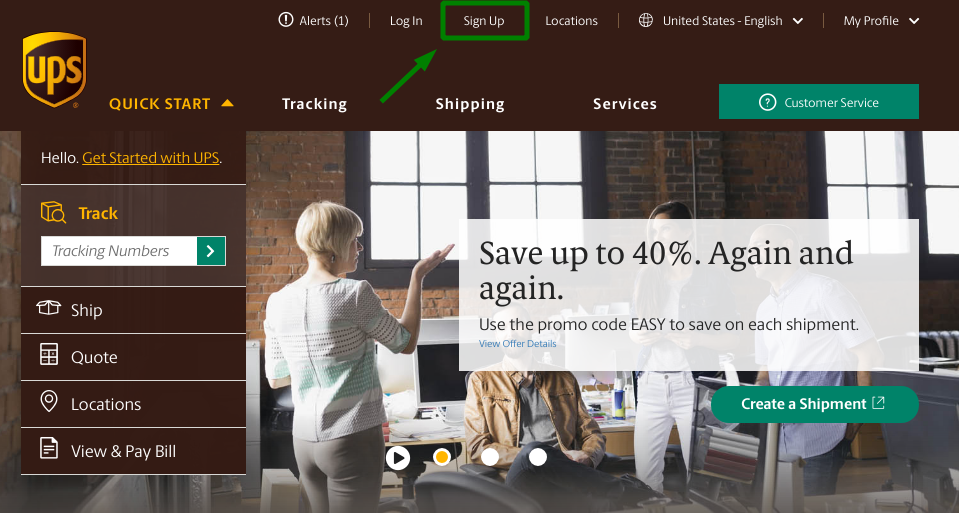
First, go to UPS.com
The site will redirect you to your location (e.g. https://www.ups.com/us/en/Home.page for United States – English).
Click the Sign Up link.
You’ll see a new screen. You can sign-up here. There is an option to use:
- Amazon
or you can enter your own information. That’s what I did, as you can see.
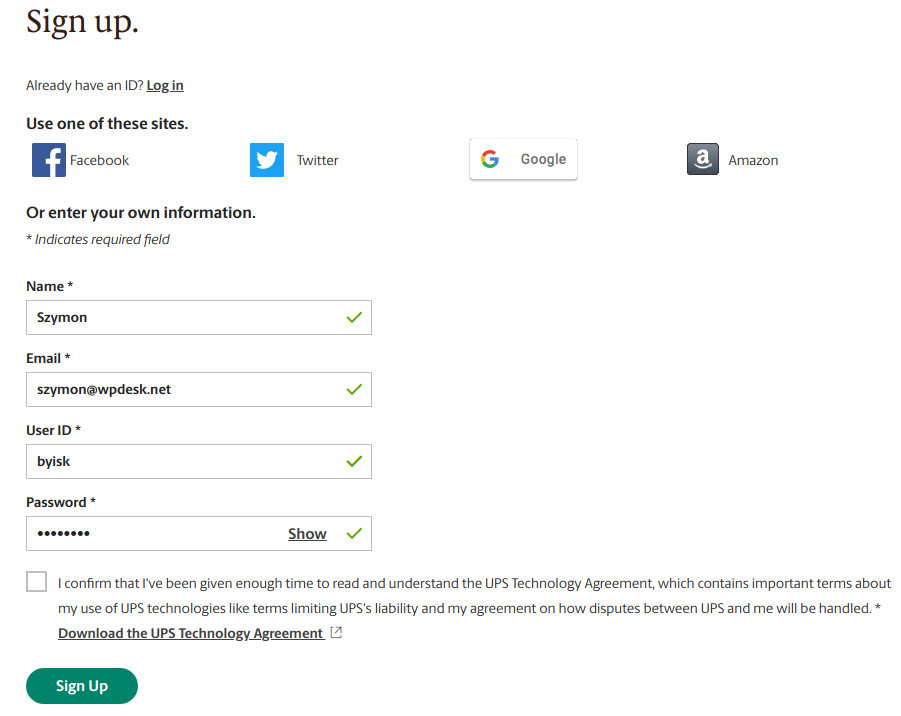
The User ID is very important. You’ll use it to connect your WooCommerce store to UPS services. I provided my own information so I chose my own User ID. Once you use Facebook or Twitter, UPS generates User ID for you.
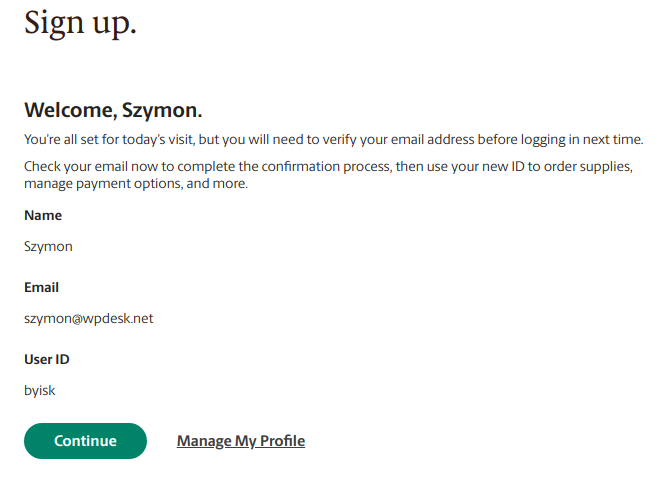
Don’t forget to verify your e-mail address. You’ll get an email with a link you need to click.
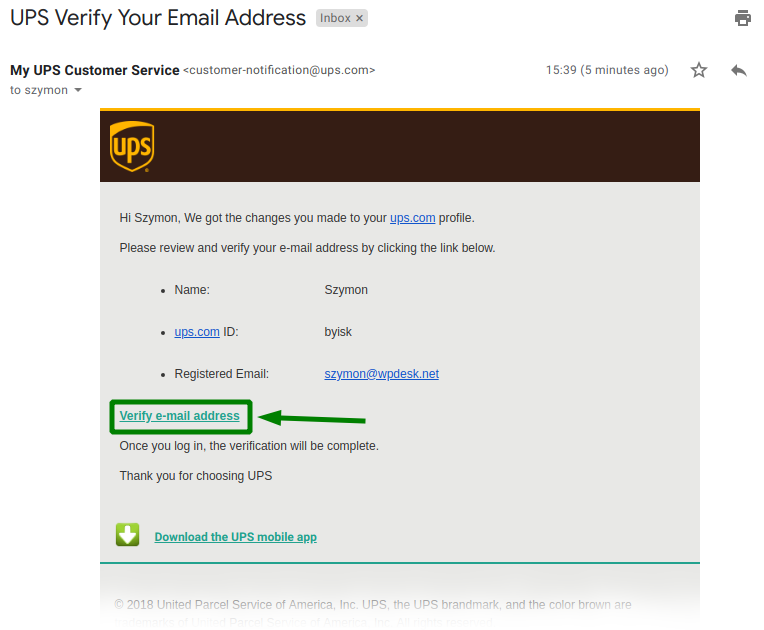
That’s all. You have successfully created an UPS account. Now you can move on to gaining the UPS API Access credentials and entering the credentials you’ve just obtained directly in…