If you’ve encountered any compatibility or functionality issues after updating the plugin to its latest release and want to return to its previous version please proceed according to the guidelines below. Generaly speaking, the whole process and the actions you need to take in order to bring the older version back are quite simple, however, they may slightly differ depending on the situation, your site’s environment and the software you are using. By following these instructions you will learn how to do the rollback step-by-step.
Download the previous plugin version’s .zip file
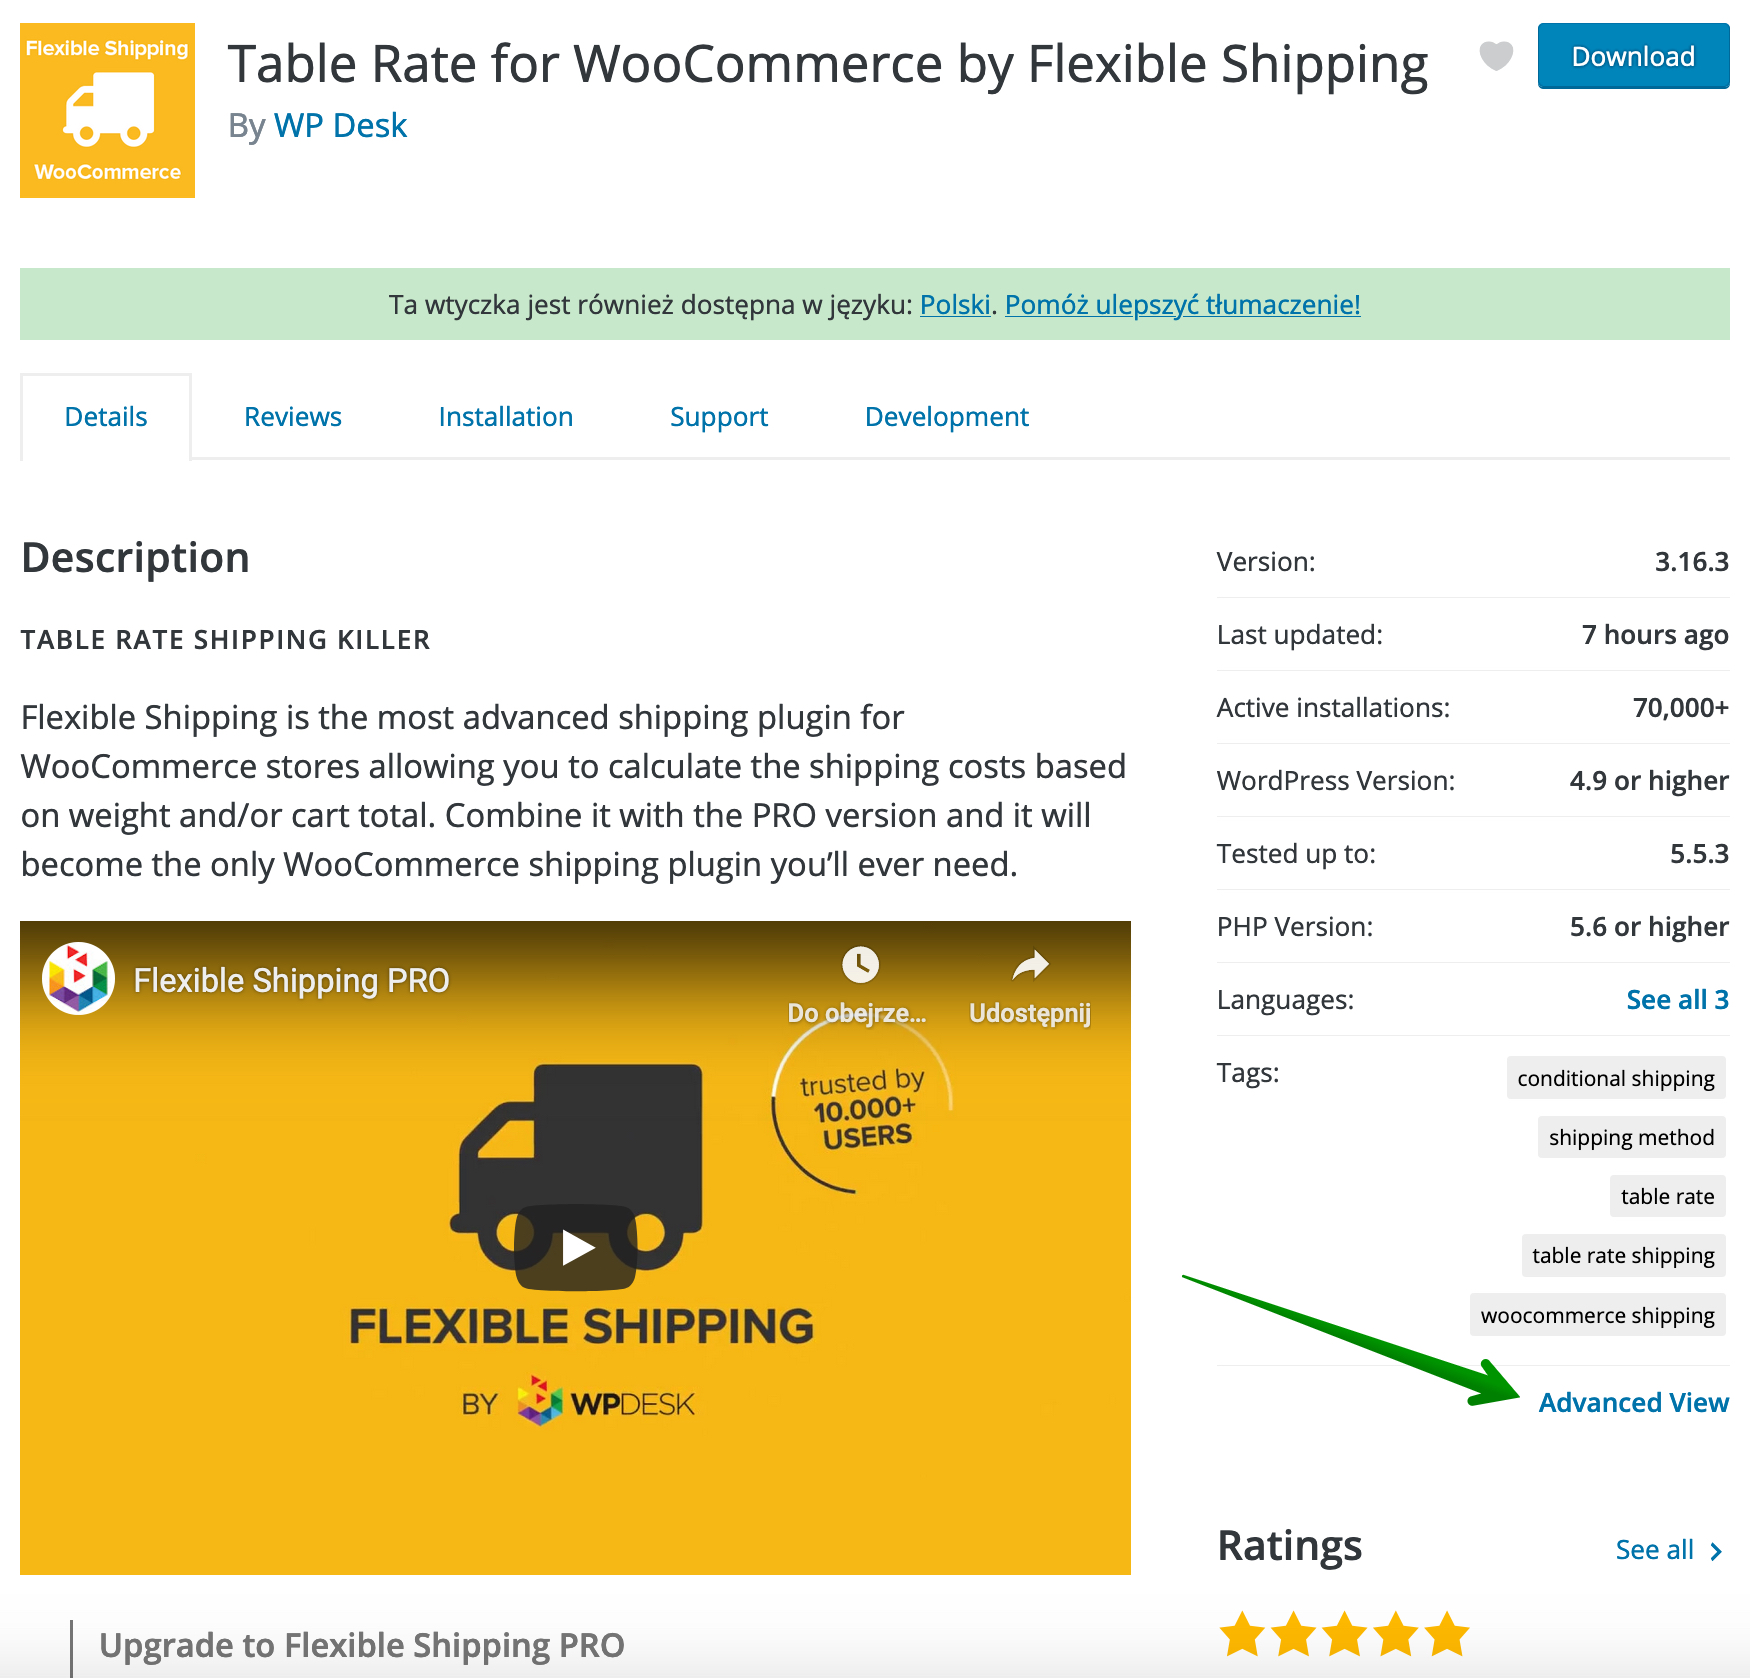
If you want to downgrade the free plugin you’ve downloaded directly from the WordPress repository go to https://wordpress.org/plugins/, type its name in the search field and proceed to the plugin’s individual page:
Scroll down a little bit and hit the Advanced View link here:
Having the Advanced View tab active scroll down once again:
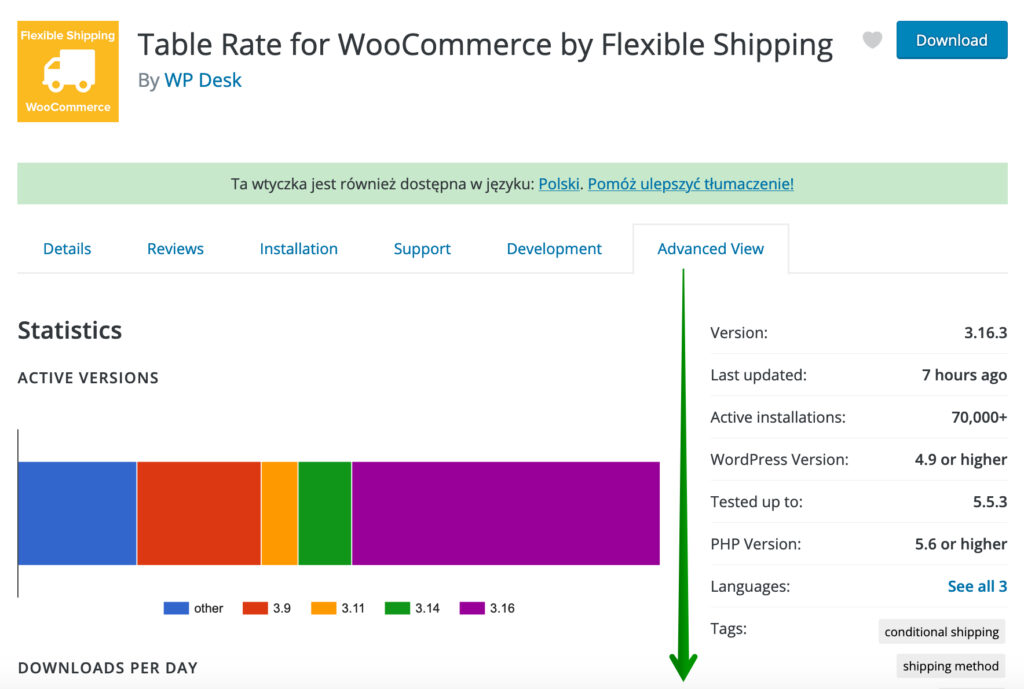
until you reach the ADVANCED OPTIONS section. Choose the archival plugin version you want to download from the dropdown list at the very bottom and hit the Download button:

If you want to downgrade one of the PRO premium plugins you have purchased in our shop and its subscription you own is currently active please contact us directly at https://octolize.com/support/.
Rename the downgraded plugin’s folder
Once you’ve downloaded the plugin .zip file, access the FTP your site is hosted on using e.g the free FileZilla FTP client or any webclients.
Navigate to the /wp-content/plugins/ directory and find the plugin you want to rollback. Change the original plugin’s folder name e.g. by adding the -temp suffix:
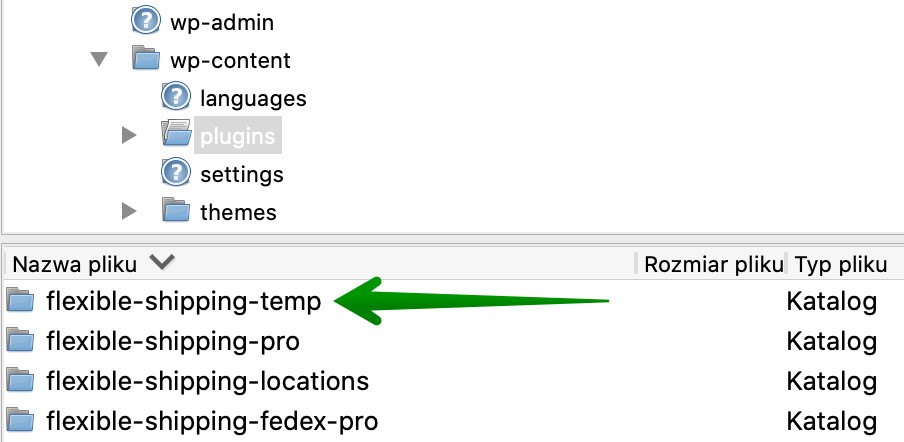
It will result in automatically deactivating this plugin at your site. Renaming the plugin’s folder the way described above might be also pretty useful if the update broke or crashed your site including causing the blank screen called ‘White Screen of Death’. If you are done here, the only thing left is to…
Install the previous plugin version
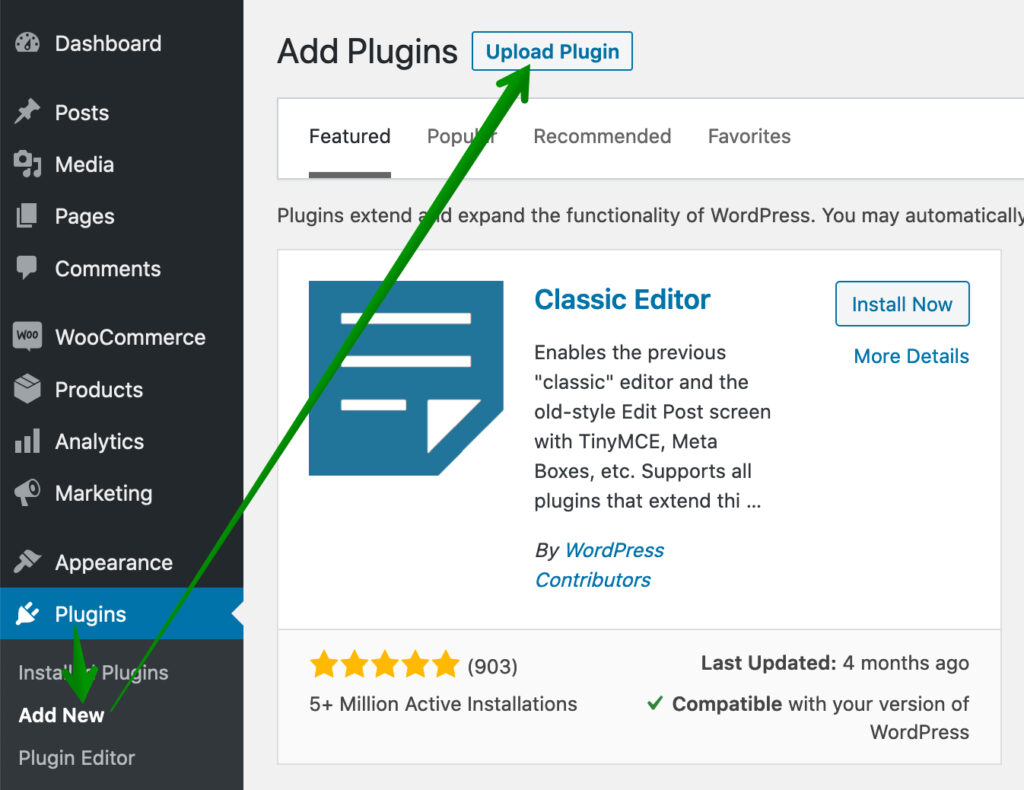
Go back to your WordPress admin panel, choose the Plugins > Add New option from the sidebar and install the archival plugin version via Upload Plugin option using the .zip file you’ve previously downloaded:
Once the installation is complete, activate the uploaded plugin the standard way and verify if everything works properly with the older version on. If you’re sure everything is fine, you can go back to your FTP and delete the ‘-temp-suffixed’ plugin folder you renamed earlier.