Configuration
Once the Shipping Notices plugin is installed and activated, the following Shipping Notices option should appear at WooCommerce → Settings → Shipping:
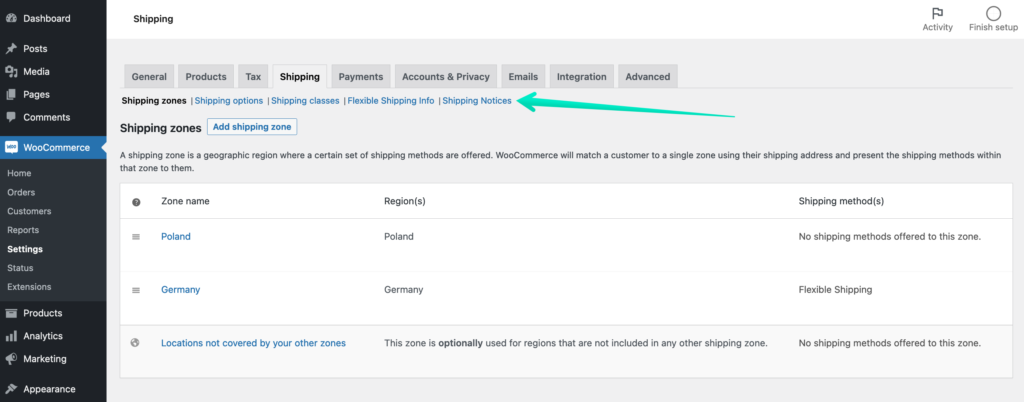
Click it to reach the Shipping Notices General Settings:
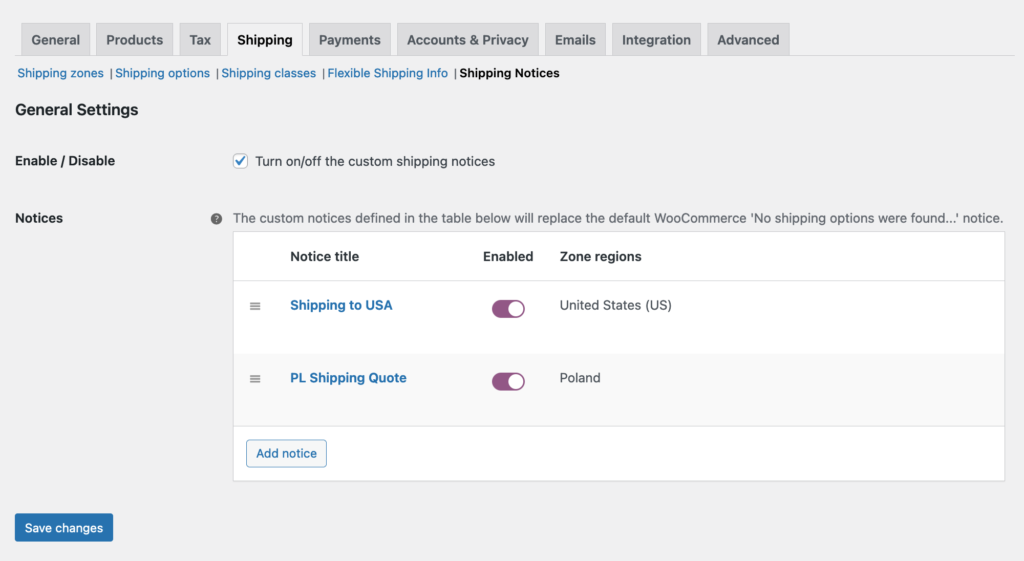
Enable / Disable – tick this checkbox to turn on the plugin functionalities and enable displaying the custom shipping notices.
Notices – a table containing all the configured custom shipping notices in your store, including their Enabled / Disabled status and the Zone regions they cover.
Adding a new custom shipping notice
In order to configure a new custom shipping notice hit the Add notice button in the Notices table’s footer:
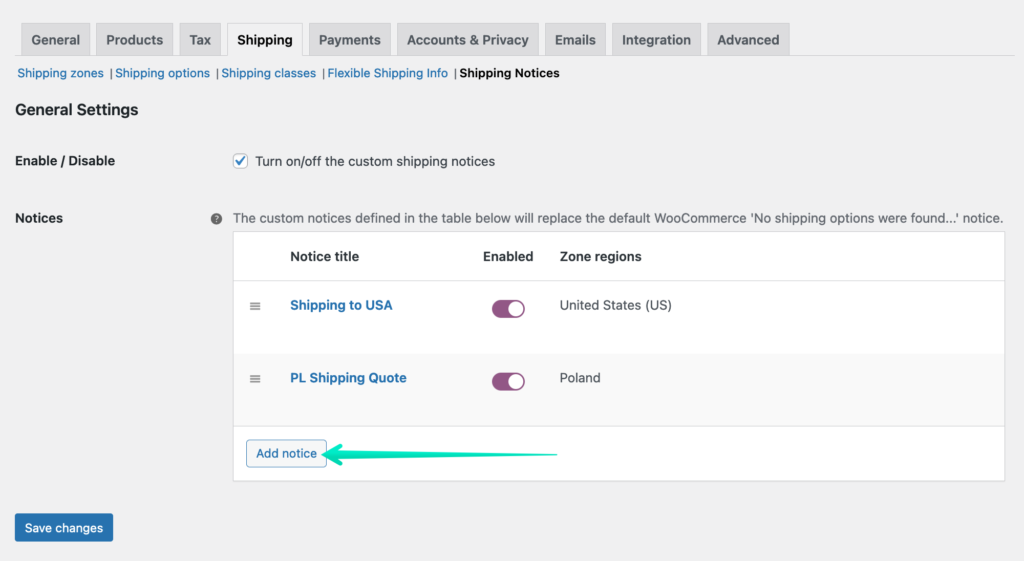
You will be redirected to the individual notice configuration screen:

Tick the Enabled checkbox to activate this notice.
Fill in the…
Notice title – with the unique title for easy identification which will be displayed only in the Notices table.
Next, choose the…
Zone regions – the custom shipping notice will be displayed for
and select the…
Notice display pages to specify where the WooCommerce default No shipping options were found... notice should should be replaced with your custom one.
Finally, in the field below, enter the…
Message content – which will be displayed to your customers when there are no available shipping methods for the shipping destination address they entered.
Please mind that you can use either visual or text editor here to edit the notice content, including WordPress standard formatting tools, HTML tags and media attachments.
Confirm adding a new custom notice with the Save changes button at the bottom.
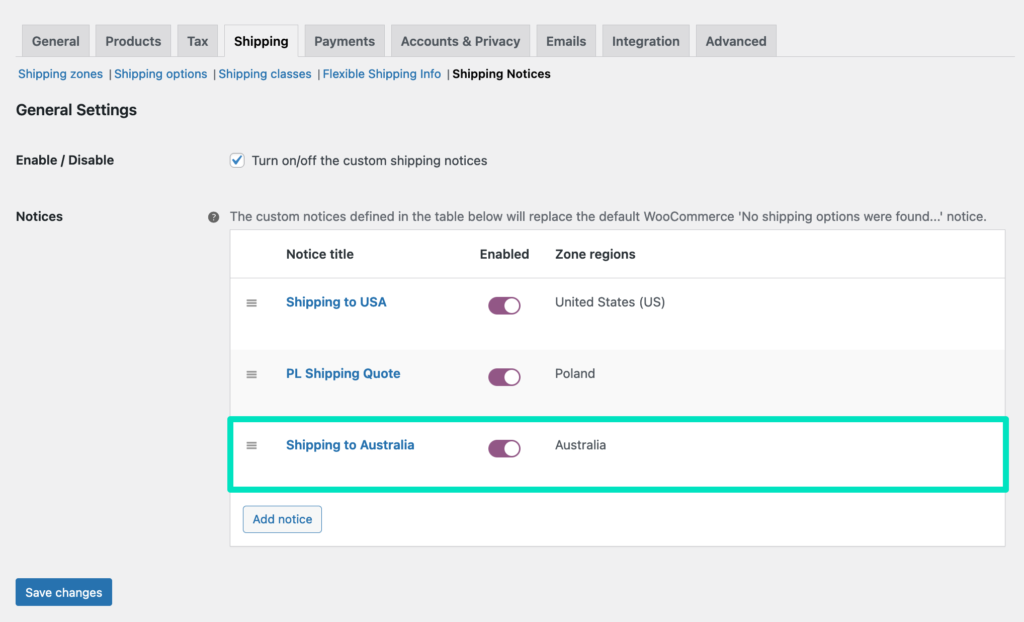
Once everything’s saved use the Shipping Notices link at the top to get back to the General Settings screen. The custom notices you’ve just created should be visible now in the Notices table:
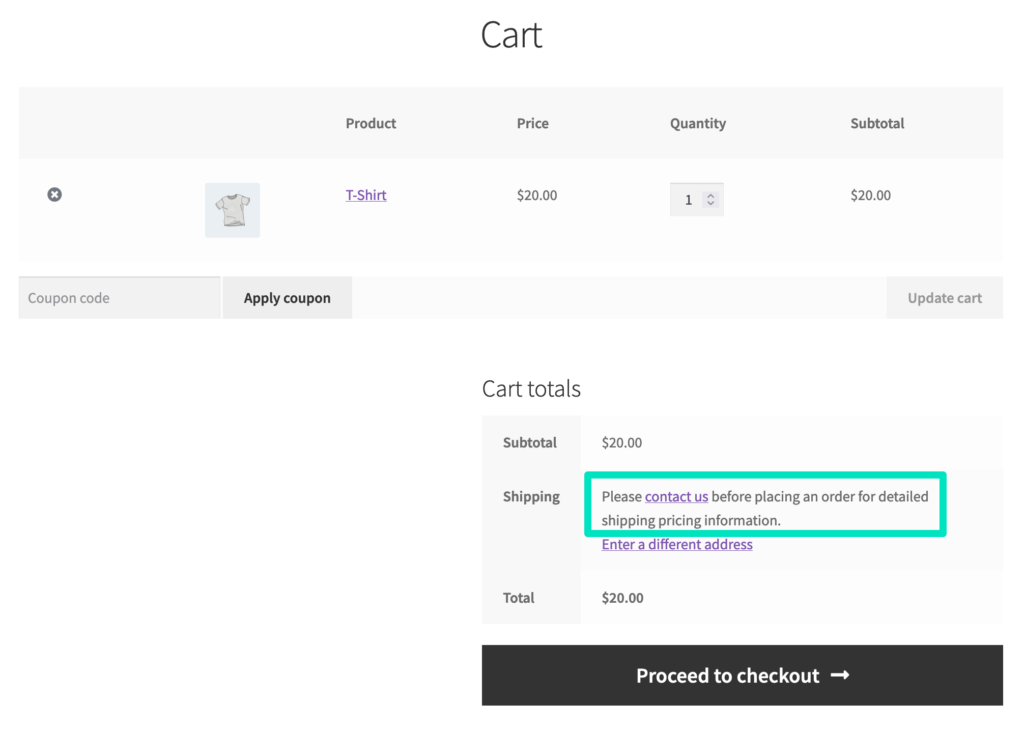
and displayed in the cart and/or checkout when there are no available shipping methods for the shipping address the customer entered:
You can of course repeat the steps above to configure more custom notices for different Zone regions if needed.
Please have in mind that displaying the custom shipping notices will occur based on the notices order defined in the Notices table. If the same Zone region was configured to be used for several notices, the first notice in the list matching that Zone region will be used.