
Subscribe to our newsletter

Have you negotiated your own rates with UPS? Undoubtedly you want them to apply in your store. In this short article, I will teach you how to make them work. We will use simple, free plugin to configure WooCommerce UPS negotiated rates.
In order to configure WooCommerce UPS negotiated rates you need a plugin that integrates UPS shipping with WooCommerce and supports negotiated rates. You can use our free WooCommerce UPS plugin and start charging your UPS negotiated rates.
Before we get into details and configuration, let us convince you that you can benefit from working with our plugin. We love WooCommerce and we focus all our efforts on creating the best in class plugins for WooCommerce store owners and developers.
This WooCommerce UPS plugin is a brand new addition to our lineup. However, over 234,559 stores worldwide stores use our plugins on a daily basis!
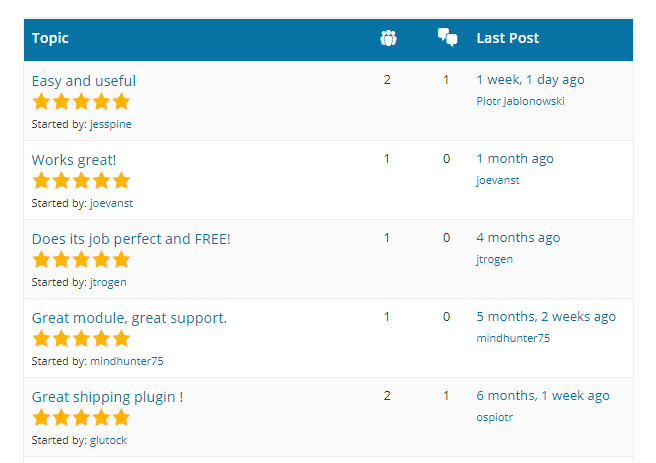
Look at our user’s reviews to be sure this WooCommerce UPS plugin is the best choice for you:
What’s more, you can download WooCommerce UPS Shipping for free!
Display automatically calculated UPS live rates and offer UPS Access Points support for your customers.
Go to WordPress.org or Download for freeAfter installing and activating the plugin in your WooCommerce store, come back here for the complete negotiated rates configuration guide.
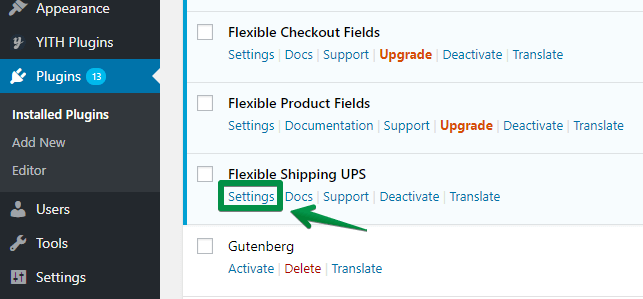
Once you install and activate the plugin, you can go to the settings screen WooCommerce → Settings → Shipping → UPS or by clicking the link on the plugins page:
Here you will find these options:
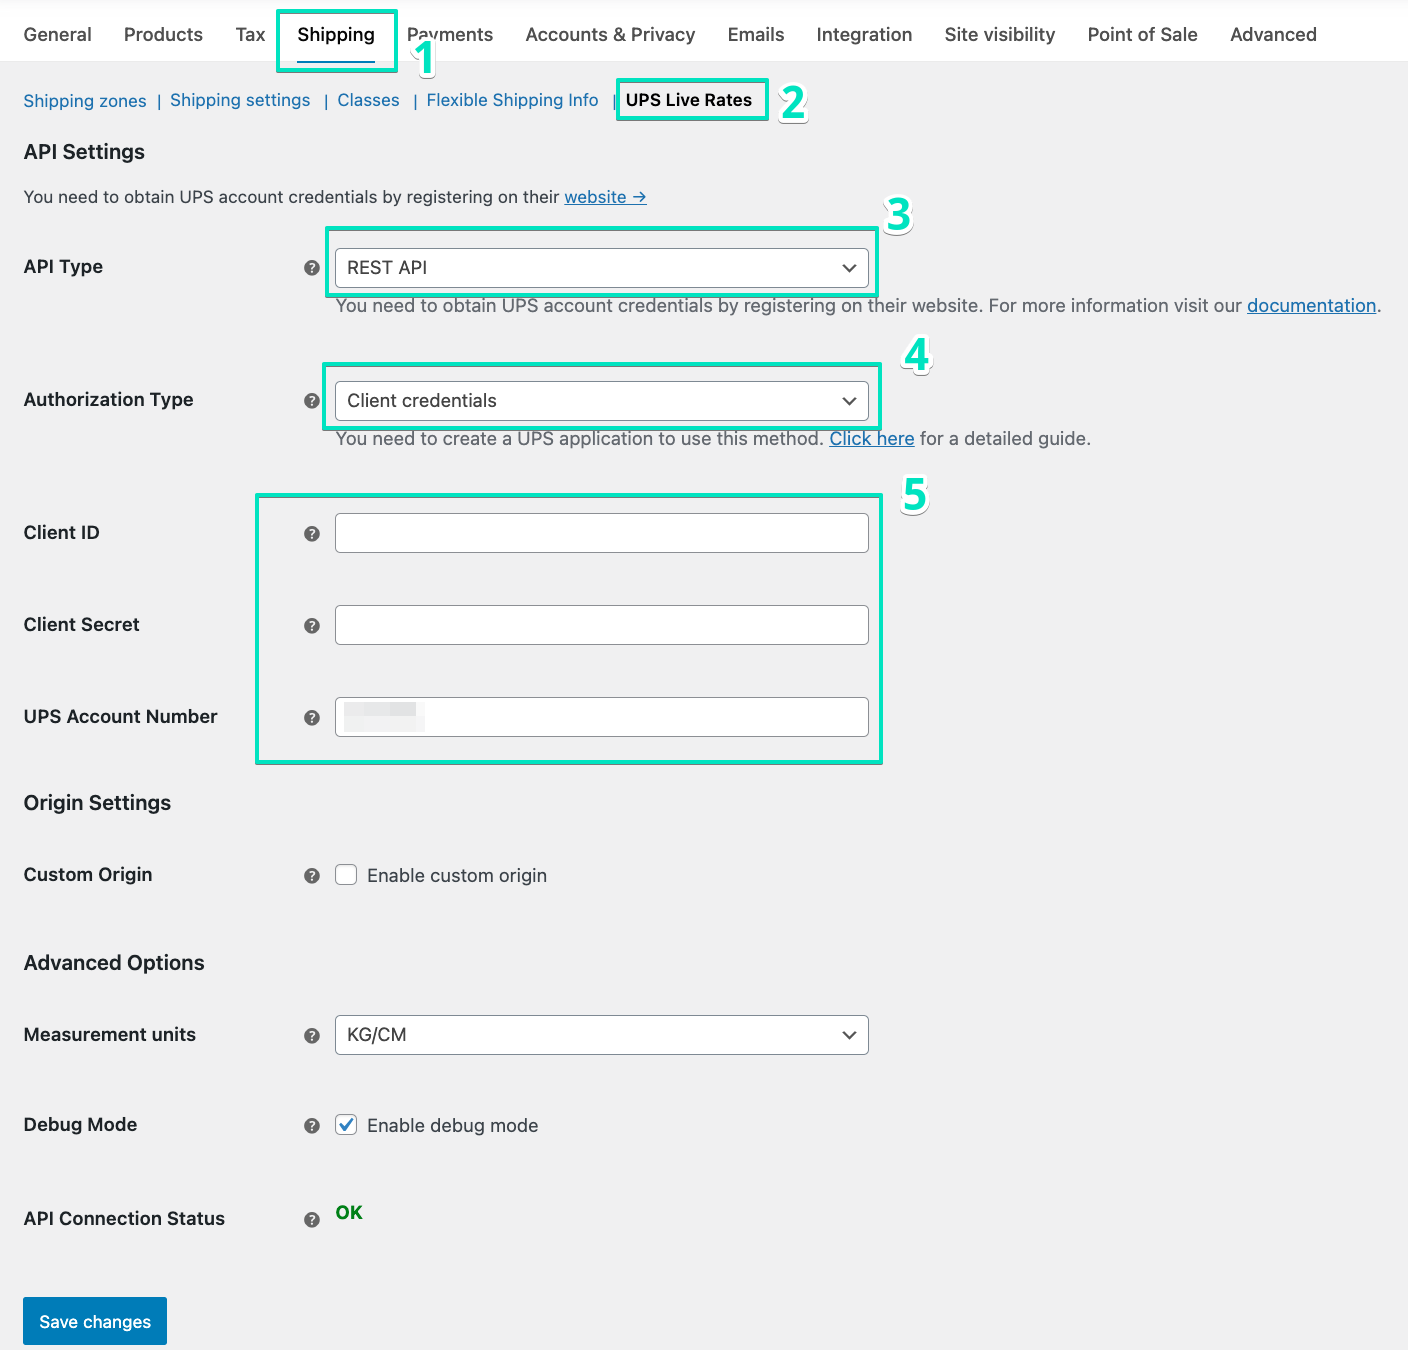
You need to provide your credentials. You can just sign up for UPS account here. Find more details here: UPS – How to register an account?
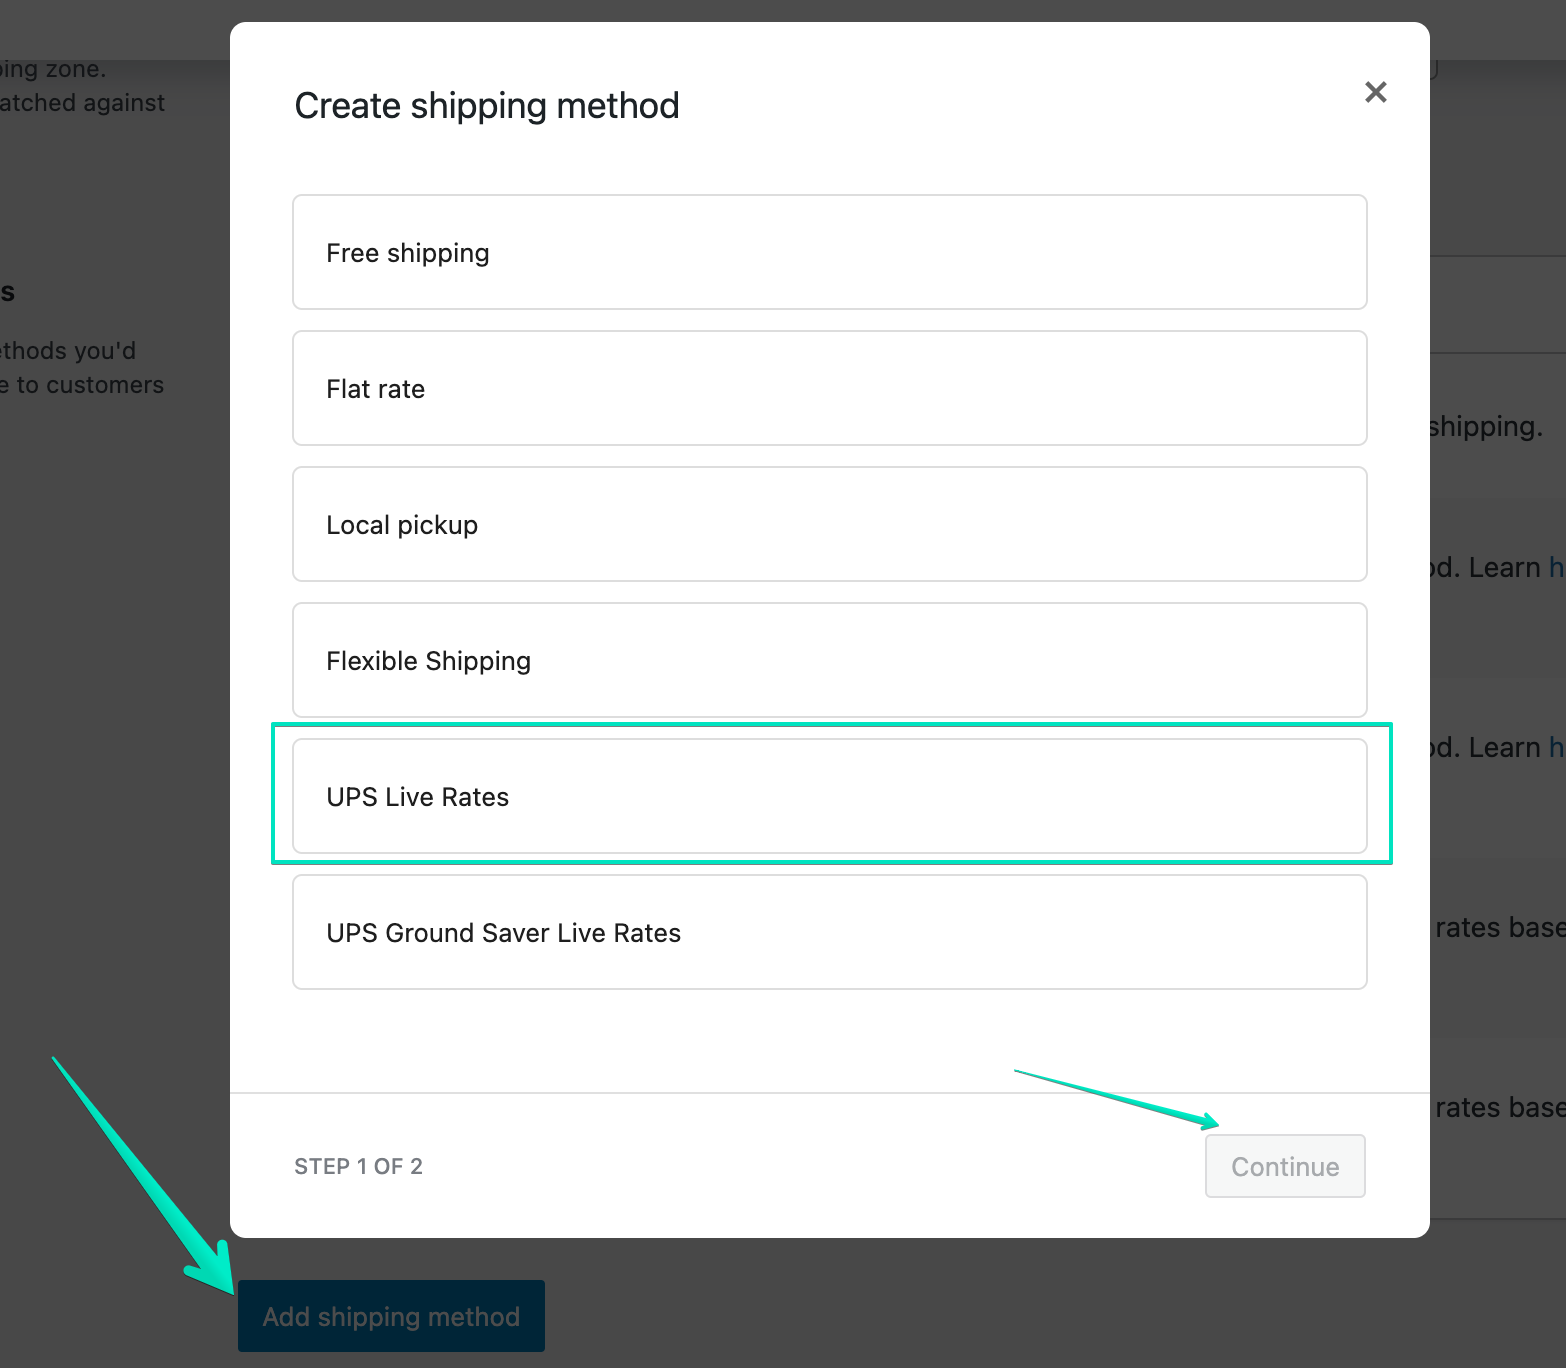
Next step is to add the shipping method. You need to select UPS on the Add shipping method screen.
By default, you have the standard rates for your UPS account. If you’d like to get lower rates, you have to make an agreement with UPS.
Once you create the UPS shipping method in your store, you can configure it:

It has a few interesting features such as services custom settings or fallback.
There is also an option that interests you most. Simply mark Enable negotiated rates to use your rates.
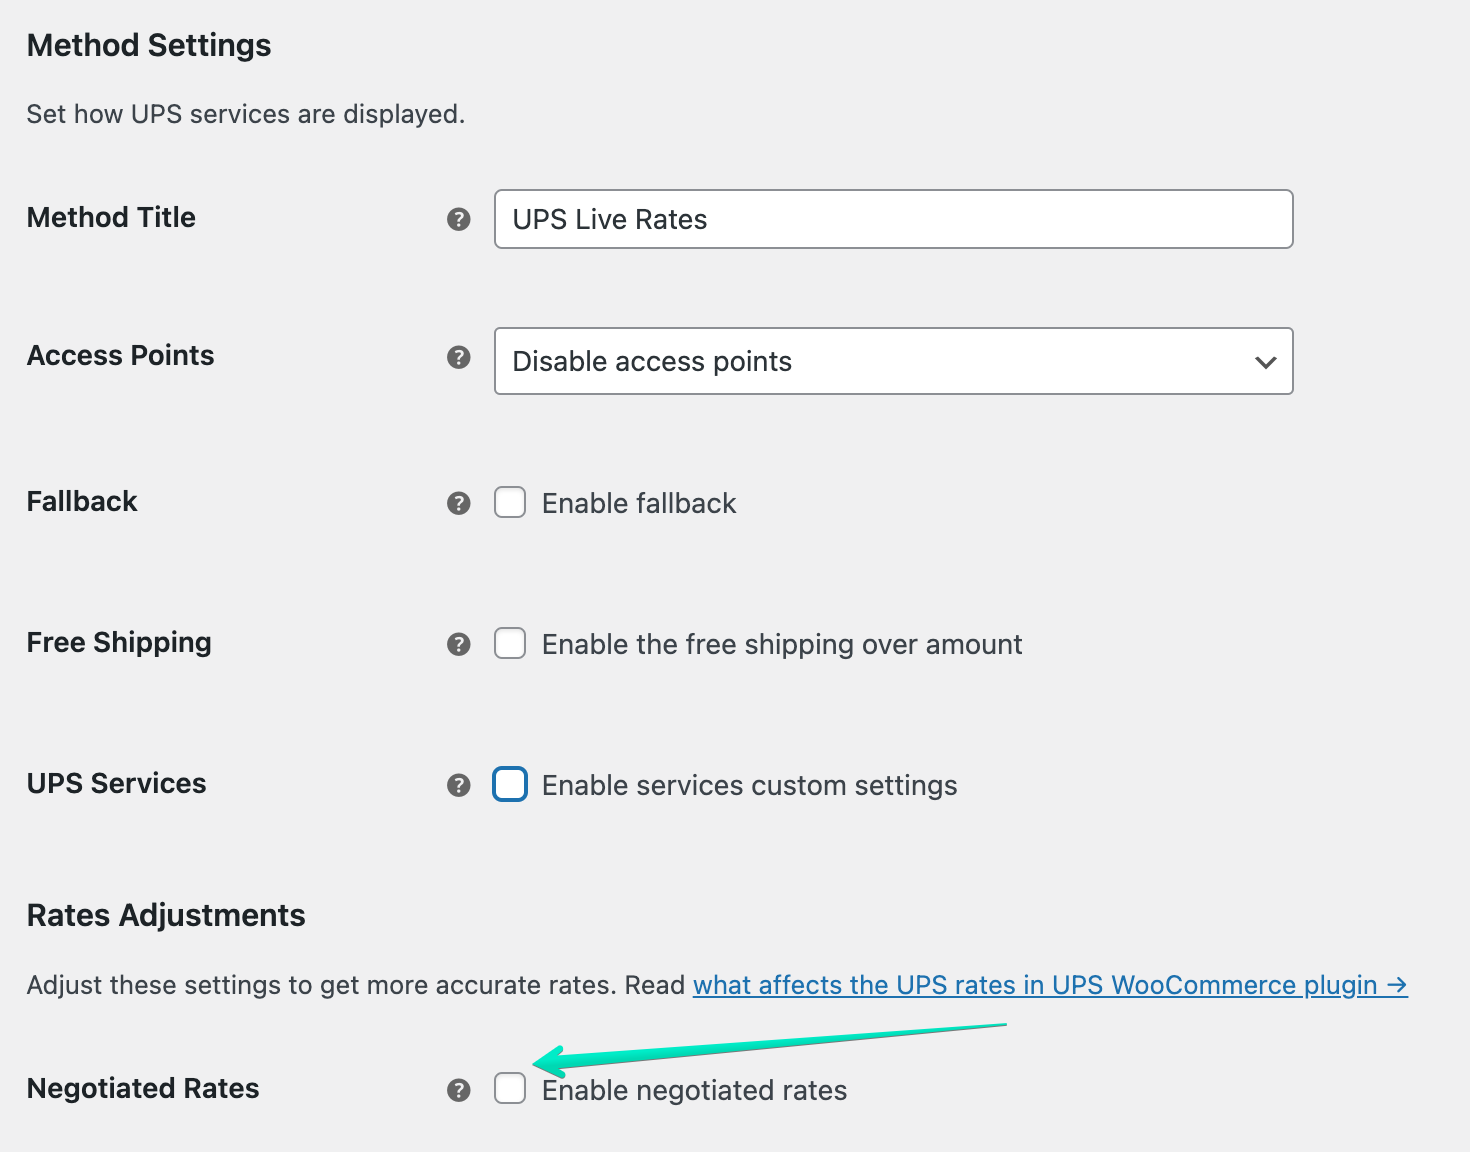
This way, your customers will get your negotiated rates when they checkout. It will work automatically, no other configuration is required. The plugin also offers real-time shipping rates:
In this short article, you have learned how to configure WooCommerce UPS negotiated rates. Read our docs if you want to get to know more about features of this plugin.
Find more details about UPS shipping plugin for WooCommerce in our YouTube video:
We’re happy to hear how it works for you. Please use the comments section below if you have something to say or need help.
Also, may you find our Ultimate Shipping Guide interesting for you?