- Home
- WooCommerce
- What plugin are you looking for?
- Shopify
- What Do I Need?
- About us
- Blog
- Docs
- Contact us
- What can we help you with?

Adding UPS Access Point selection in WooCommerce store sounds like something truly complicated, but it can be really easy. All you need is a UPS account and our UPS Shipping Plugin for WooCommerce – Live Rates and Access Points PRO plugin. In this article, I’ll show you how to add it using a flat rate.
UPS Access Points are lockers or local businesses that have partnered with UPS and become delivery locations. Clients can choose them as a pickup location and collect packages when it suits their schedule. It’s a very convenient service for online stores’ customers because they don’t have to wait for packages and can pick them up close to their location. It’s a great feature for any store owner, who uses UPS as a delivery option.
Find more details about Free UPS shipping plugin for WooCommerce by Octolize:
First, you’ll need a good and easy-to-use plugin. UPS Live Rates and Access Points for WooCommerce plugin is a simple way to add UPS Access Point selection with the flat rate in WooCommerce. Of course, it has a lot of other features like UPS live rates, estimated delivery date, commissions and more.
To add UPS Access Points selection in WooCommerce, you have to configure the plugin with your UPS account. Check out our article on how to get UPS access key and configure UPS integration for WooCommerce.
Display automatically calculated UPS live rates and offer UPS Access Points support for your customers.
View DetailsorAdd to cartUsing UPS Live Rates and Access Points PRO for WooCommerce plugin, you don’t have to set complicated live rates or other advanced features. We know that it can be difficult, so we added a simplified flat rate option. In shipping Method Settings you can just set Access Points as Access points and flat rate, like in the screenshot below.
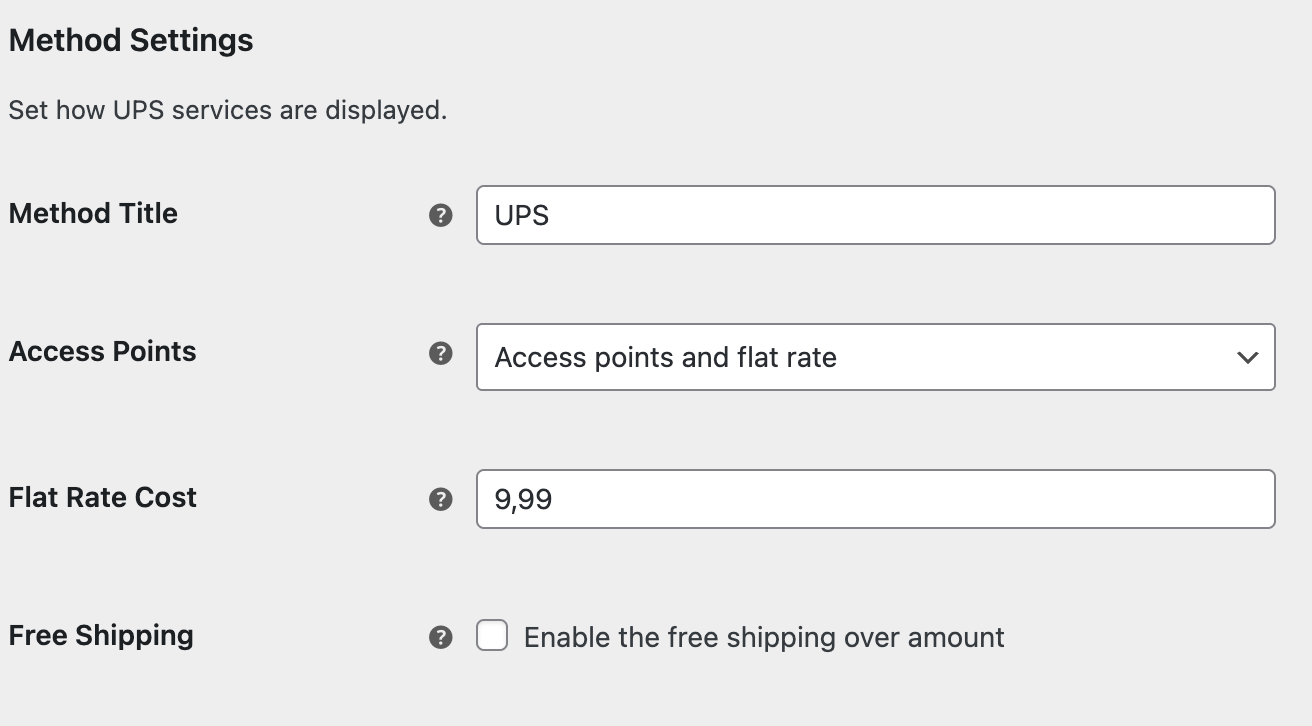
Now you can enter Flat Rate Cost of the shipping and Access Points selection will appear in the checkout page. It’s a basic feature of this plugin, but can be a really good option for smaller stores, shipping in one country or just a region. They don’t need to add UPS live rates or any other fireworks. Just add UPS Access Point selection in WooCommerce.
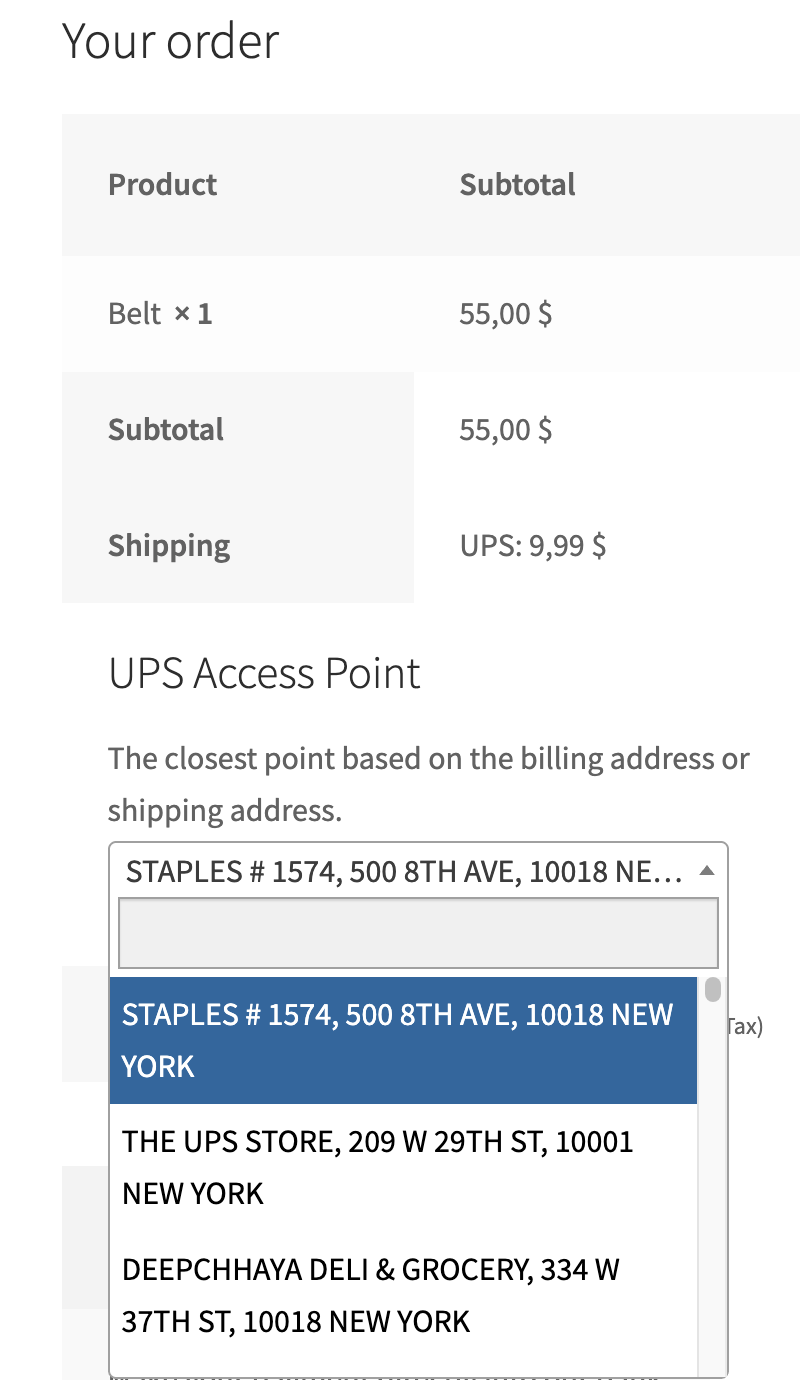
UPS Access Point selection appear in WooCommerce checkout page as a new field in the shipping information.
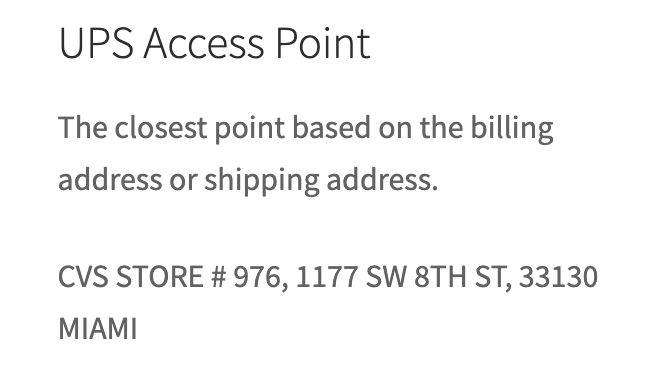
Access Points are displayed in a drop-down list based on customer shipping address from the nearest ones.
It’s a feature from UPS Shipping Plugin for WooCommerce – Live Rates and Access Points PRO. In the free version it’ll be automatically filled with the closest Access Point to the customer shipping address. All Access Points are provided by UPS API and frequently updated, so you don’t have to worry about it.
UPS Access Point selection is a great feature for most WooCommerce stores using UPS as a delivery option. In this article, I showed you how to add it to your store with a simple flat rate option. I hope that it will be a great feature for your customers!
Our team usually replies within a few hours. Ask away — we'll help you find the right solution for your store.

Content Writer at Octolize
Bartosz Gajewski is a content and marketing specialist with a solid background in SEO, WordPress content strategy, and technical documentation for digital products. With years of hands-on experience in both in-house and freelance roles, he supports tech companies – especially in the SaaS and e-commerce space – by creating content that informs, engages, and drives results.
His approach blends storytelling with data-driven SEO, and he’s been involved in projects ranging from rebranding and product marketing to growth experiments and copywriting for complex software tools. On the blog, he shares actionable insights from his work across marketing teams, product documentation, and online store optimization.


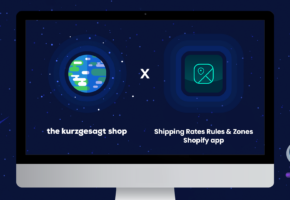
Learn how Octolize helped Kurzgesagt, the online shop behind one of YouTube’s most popular science channels, set up conditional courier rules using the Shopify Shipping Rates Rules & Zones app.
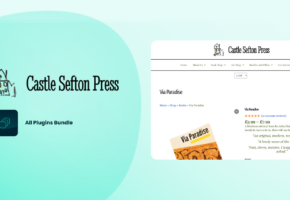
Learn how Octolize solutions helped WooCommerce store based in the United Kingdom set up shipping scenarios.
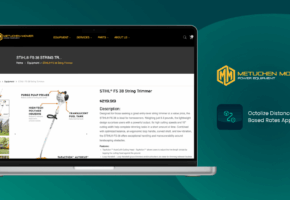
Learn how Octolize helped Shopify store based in the USA set up distance based rates with a usage of Octolize Distance Based Rates.