- Home
- WooCommerce
- What plugin are you looking for?
- Shopify
- What Do I Need?
- About us
- Blog
- Docs
- Contact us
- What can we help you with?

Live Rates is a great solution for WooCommerce stores that want to show their customers actual shipping rates. Such rates are calculated based on the products in the shopping cart and the distance between the store address and the customer’s address. The shipping cost is provided by the courier company’s API and displayed in the shopping cart and checkout page. But what about for larger stores that have several warehouses? In such situations, the solution is to set the Custom Origins for each shipping zone or even for each shipping method.
This solution will work for most of the Octolize Live Rates plugins, like UPS, USPS, FedEx and DHL Express. But in this article, I’ll use UPS Live Rates plugin as an example.
That option is available in the PRO version of the UPS WooCommerce Live Rates and Access Points plugin. The PRO version extends the capabilities of the free UPS plugin, which is used by more than 9,000 WooCommerce stores.
Display automatically calculated UPS live rates and offer UPS Access Points support for your customers.
View DetailsorAdd to cartHaving the UPS WooCommerce Live Rates and Access Points PRO plugin installed and activated, you can proceed to configuration.
First, you have to connect the UPS Live Rates plugin with your UPS Account. This way, the plugin will be able to charge and display exactly the rates you get in your account. To do so, go to WooCommerce → Settings → Shipping and then UPS Live Rates.
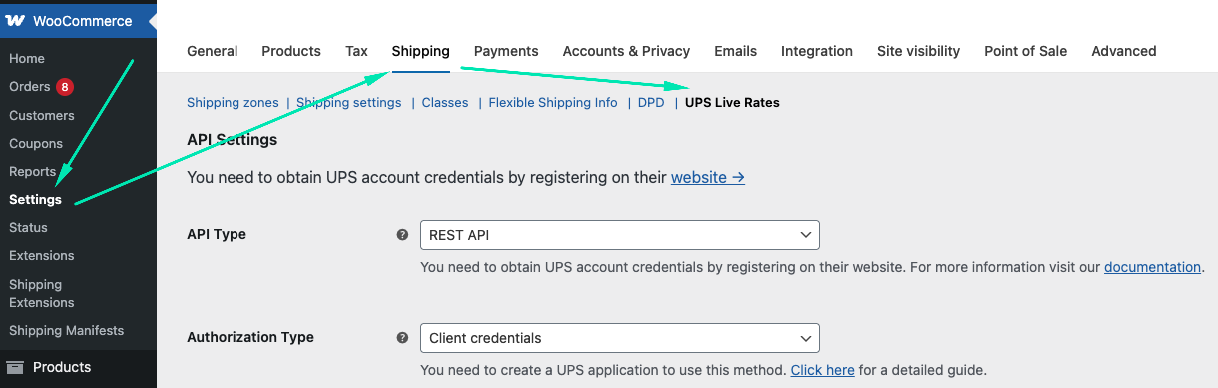
Enter your credentials and Save changes to check if the connection status is ok.
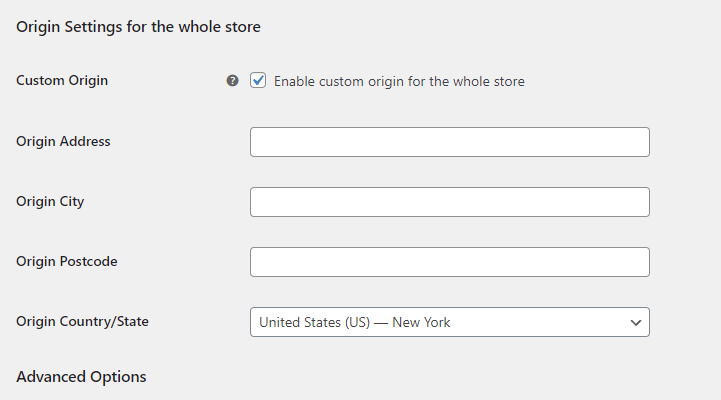
In the plugin’s settings, you can also set the Custom Origin for all UPS Shipping Methods. The address entered here will overwrite the store address entered in the WooCommerce settings. You will be able to change Custom Origin for each shipping method, as I will show later in the article.
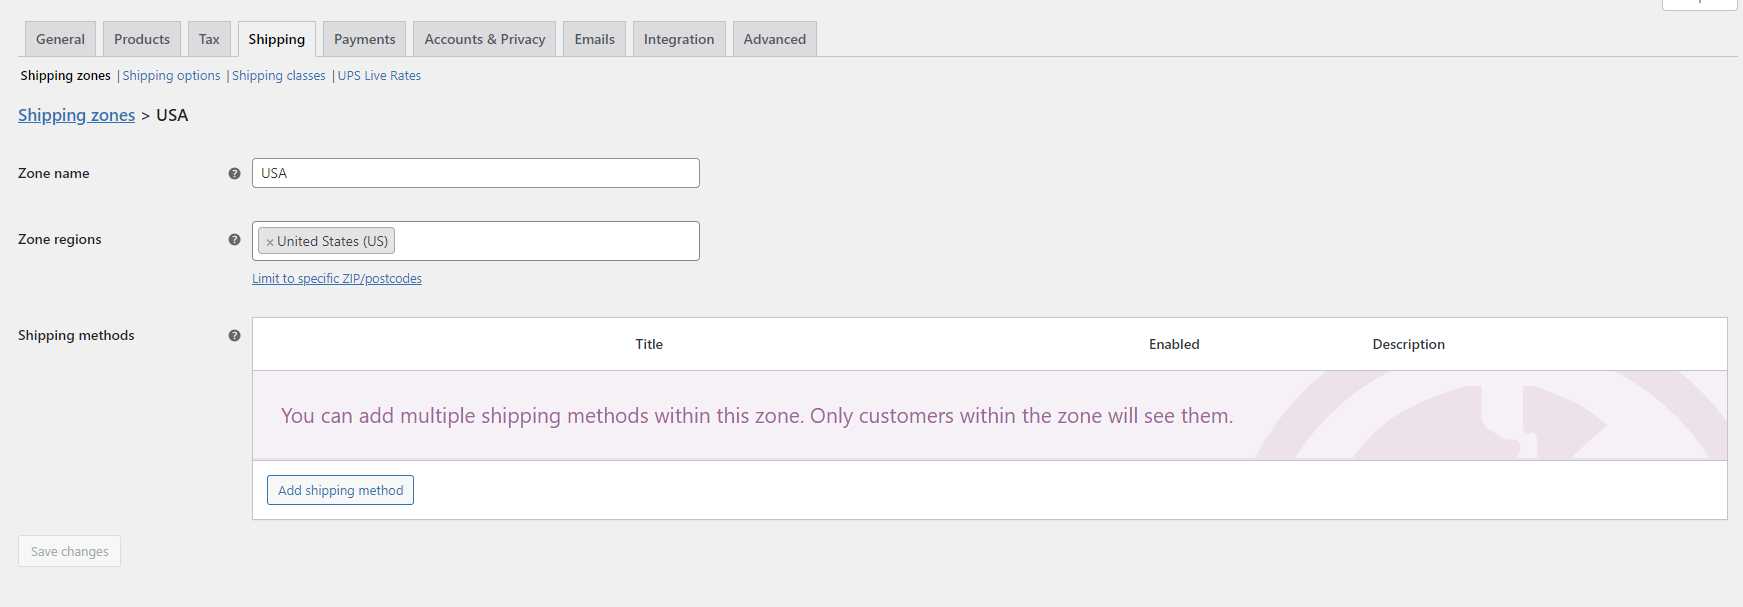
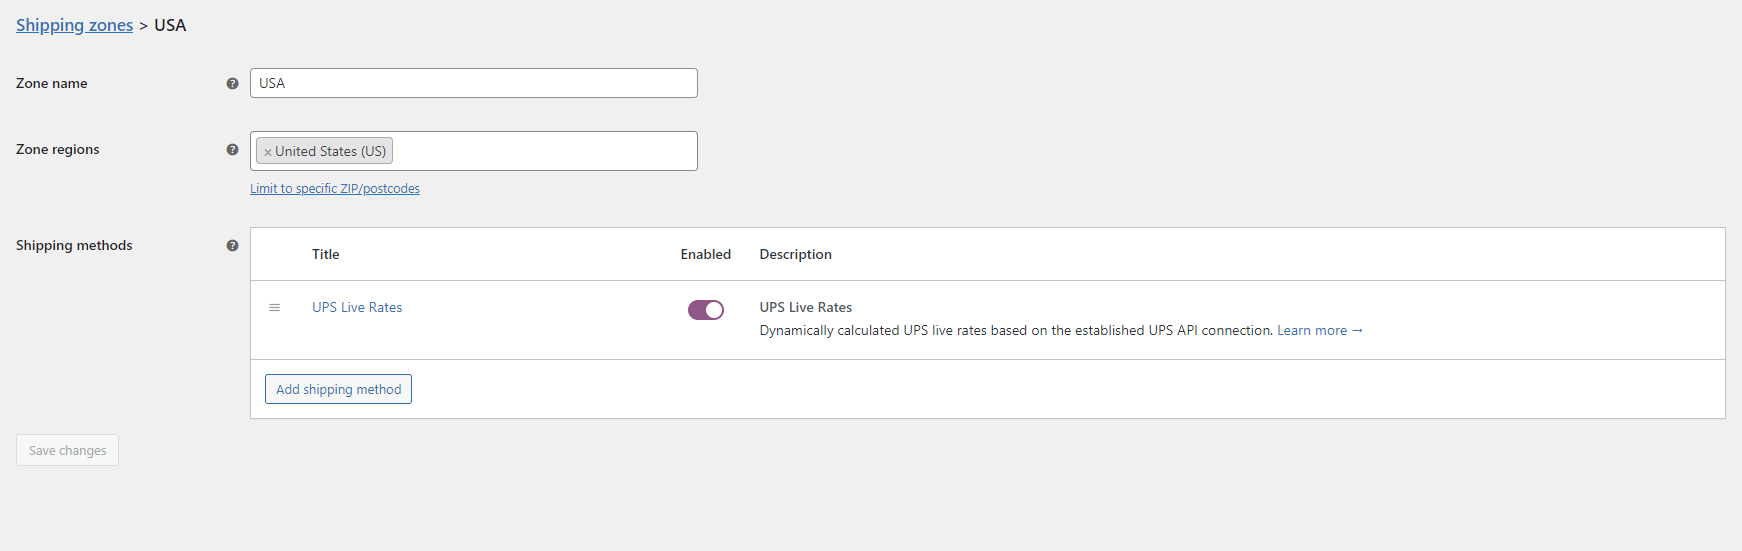
Next step is to add UPS shipping method. Go to WooCommerce→ Settings → Shipping → Shipping Zones and choose the Shipping Zone where you want to offer UPS Live Rates with custom origin. I ship to Canada and the USA from different warehouses, so I need to set different custom origins for each shipping zone.
The first to go is the shipping method for the US. To add it, click on the Shipping Zone’s name. You’ll be redirected to the setting page, where you will be able to edit your current shipping methods, and add a new one.
To do so, click on the Add shipping method button and choose UPS Live Rates from the available shipping methods.
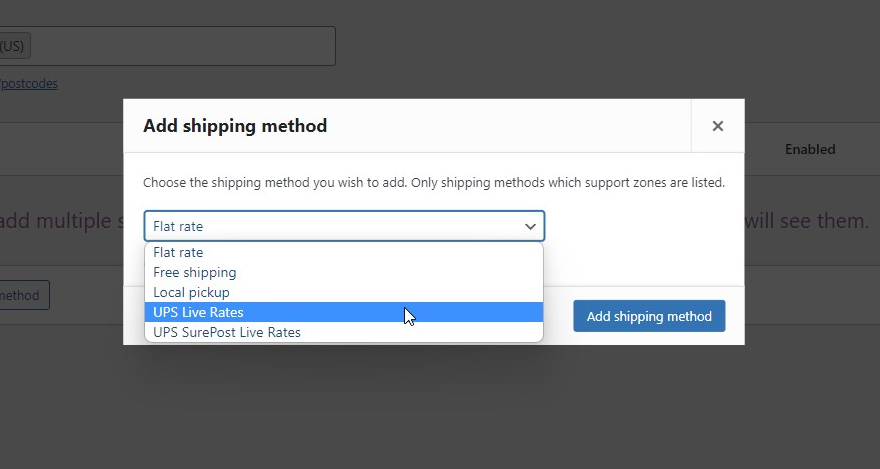
Confirm by clicking the Add shipping method button. After that, the UPS method should be displayed in the Shipping Zone, and ready to configure.
Click on it, to set custom origin for that shipping method. In the method’s setting page, you have a lot of different configuration options to set the most accurate Live Rates.
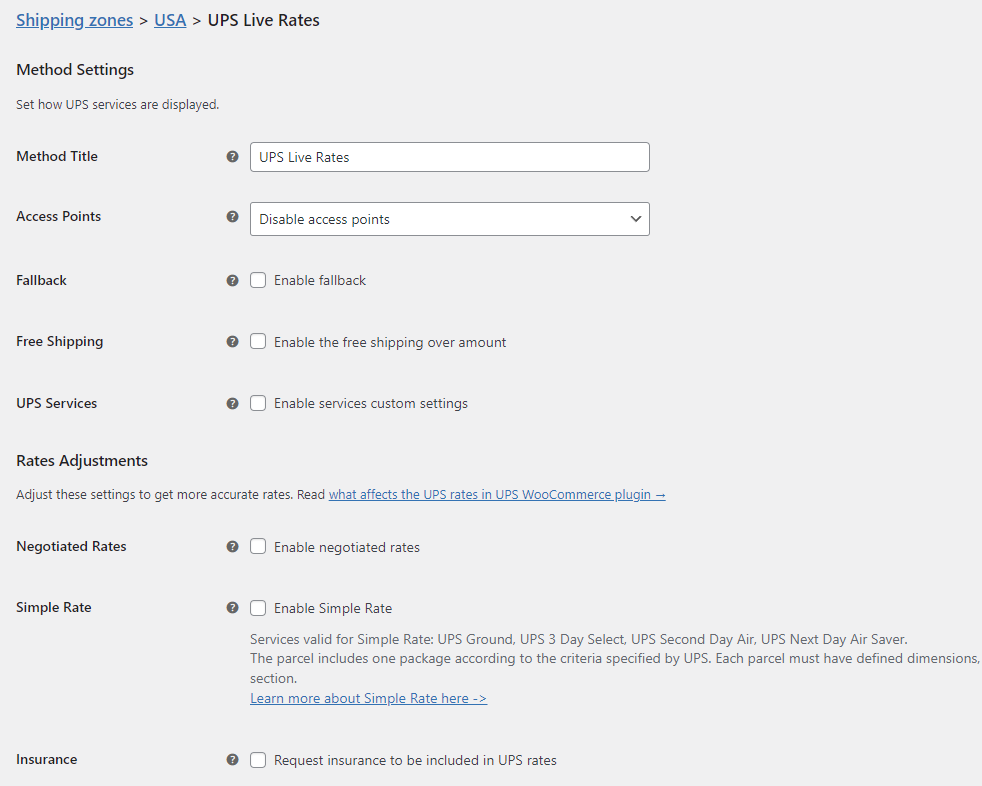
To learn about all possible settings, check out our article What affects the UPS rates in UPS WooCommerce plugin?
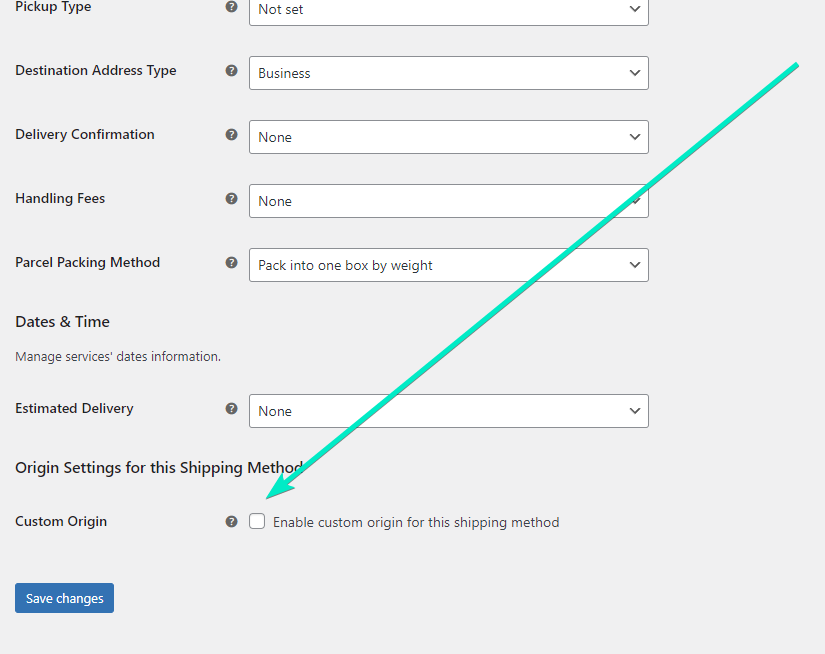
To add Custom Origin for that shipping method, go to the bottom of the settings page, and tick the Enable custom origin for this shipping method checkbox.
After selecting it, fields for entering the address will appear. Enter the address of your warehouse in the given shipping zone. This will calculate the cost of all UPS services available for that shipping method and thus shipping zone, based on that address.
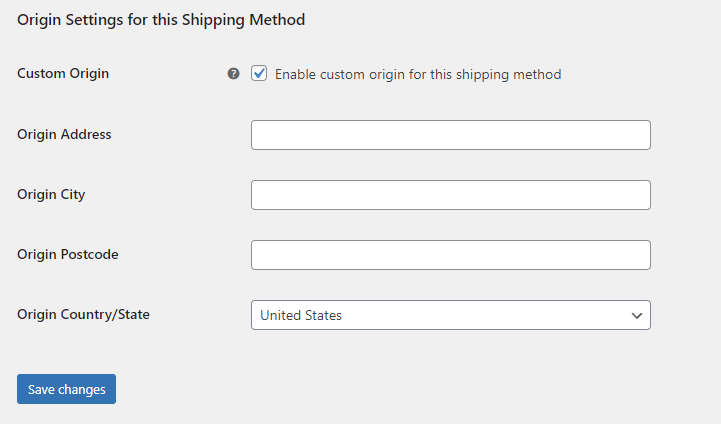
After entering the address, save the changes and similarly add the shipping method in the other shipping zones. With such a solution, each of your shipping zones, and even each method, will be able to have a custom origin to get the most accurate rates corresponding to reality.
Looking for insights on shipping zones? Check out our video:
Our team usually replies within a few hours. Ask away — we'll help you find the right solution for your store.

Content Writer at Octolize
Bartosz Gajewski is a content and marketing specialist with a solid background in SEO, WordPress content strategy, and technical documentation for digital products. With years of hands-on experience in both in-house and freelance roles, he supports tech companies – especially in the SaaS and e-commerce space – by creating content that informs, engages, and drives results.
His approach blends storytelling with data-driven SEO, and he’s been involved in projects ranging from rebranding and product marketing to growth experiments and copywriting for complex software tools. On the blog, he shares actionable insights from his work across marketing teams, product documentation, and online store optimization.


Learn how Octolize solutions helped WooCommerce store based in the United Kingdom set up shipping scenarios.
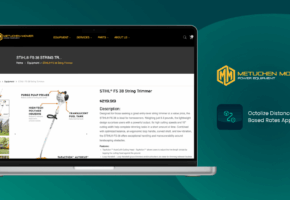
Learn how Octolize helped Shopify store based in the USA set up distance based rates with a usage of Octolize Distance Based Rates.
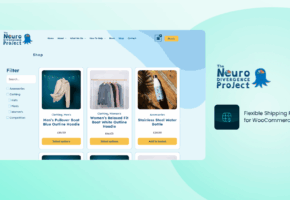
Learn how Octolize helped NGO set up their WooCommerce rates with a usage of Flexible Shipping PRO.