- Home
- WooCommerce
- What plugin are you looking for?
- Shopify
- What Do I Need?
- About us
- Blog
- Docs
- Contact us
- What can we help you with?

WooCommerce Shipping Zones introduced in version 2.6 are a killer feature making advanced shipping methods a standard. Adding the Zones gives you more flexibility and allows i.a. to offer your customers the zone-specific methods. Combined with the WooCommerce shipping methods they allow you to target your customers more precisely. Additionally, they allow to adjust the shipping to meet your business and your customers’ needs. Let’s get to know them better!
To cut the story short the shipping zones are groups of locations where you want to ship your products to. You can easily group the continents, countries, states/provinces and even ZIP or postal codes. In other words, you can use them e.g. to:
It’s all up to you how you configure them and which setup suits your business best.
What surely makes them an attractive shipping option is the fact that they also allow you to set up the different shipping methods for each zone you’ve created and your customers will see only the ones available for their area (based on the entered address details or geolocation).
On our channel you will find tutorials for WooCommerce, including a tutorial on shipping zones:
First, navigate to WooCommerce → Settings → Shipping → Shipping Zones. You should see the following screen if you haven’t created any shipping zones yet:
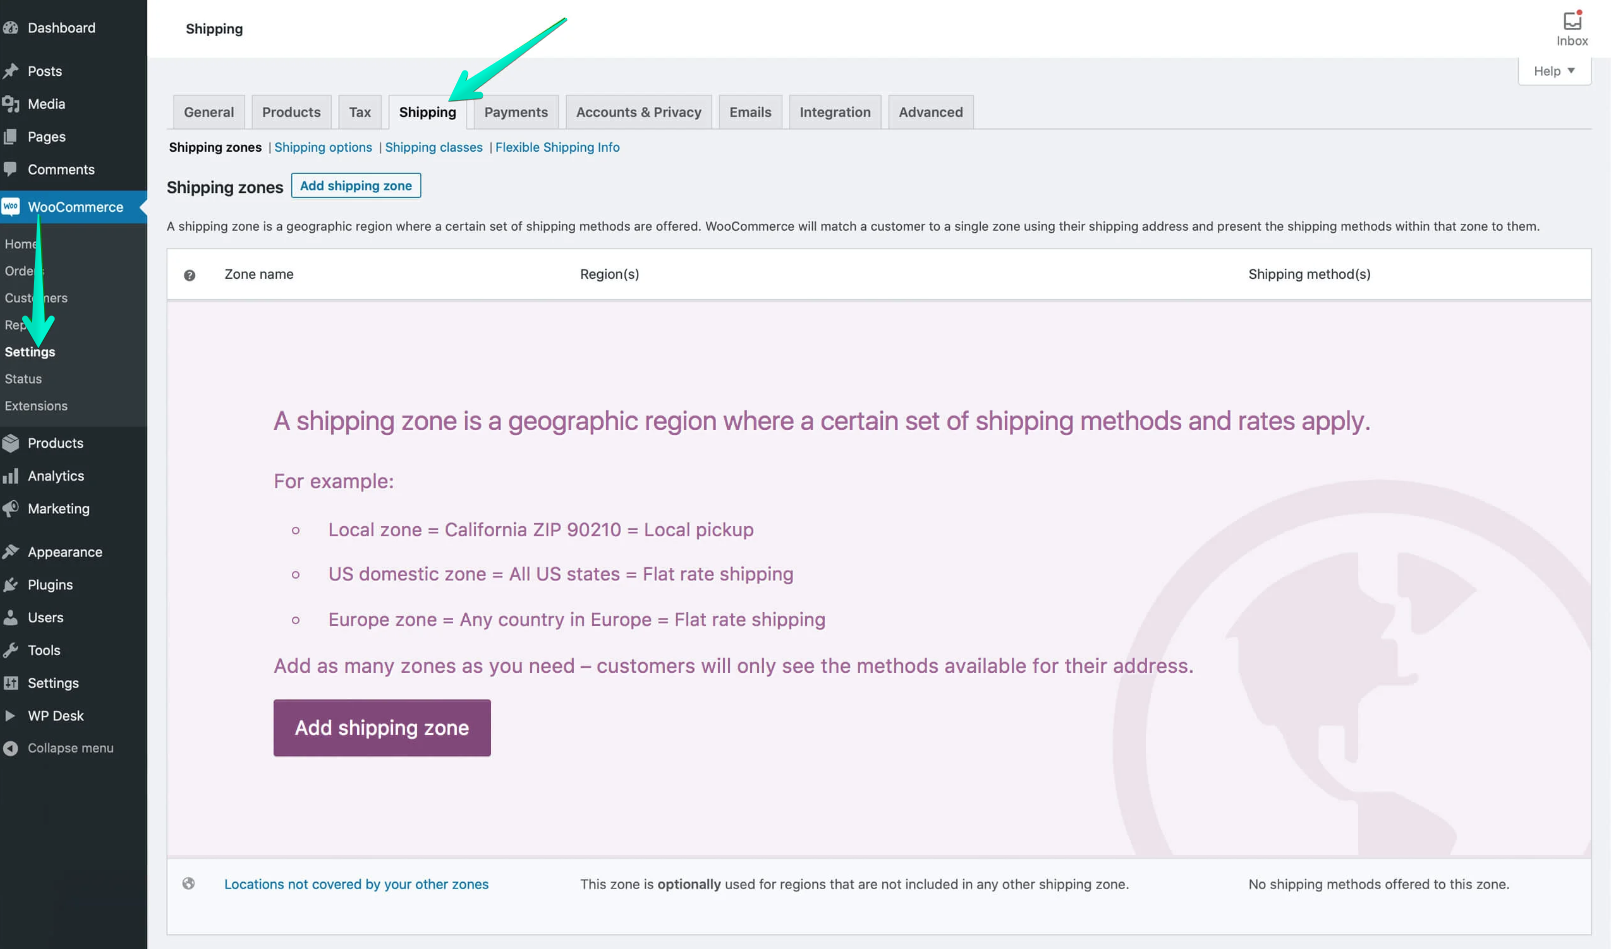
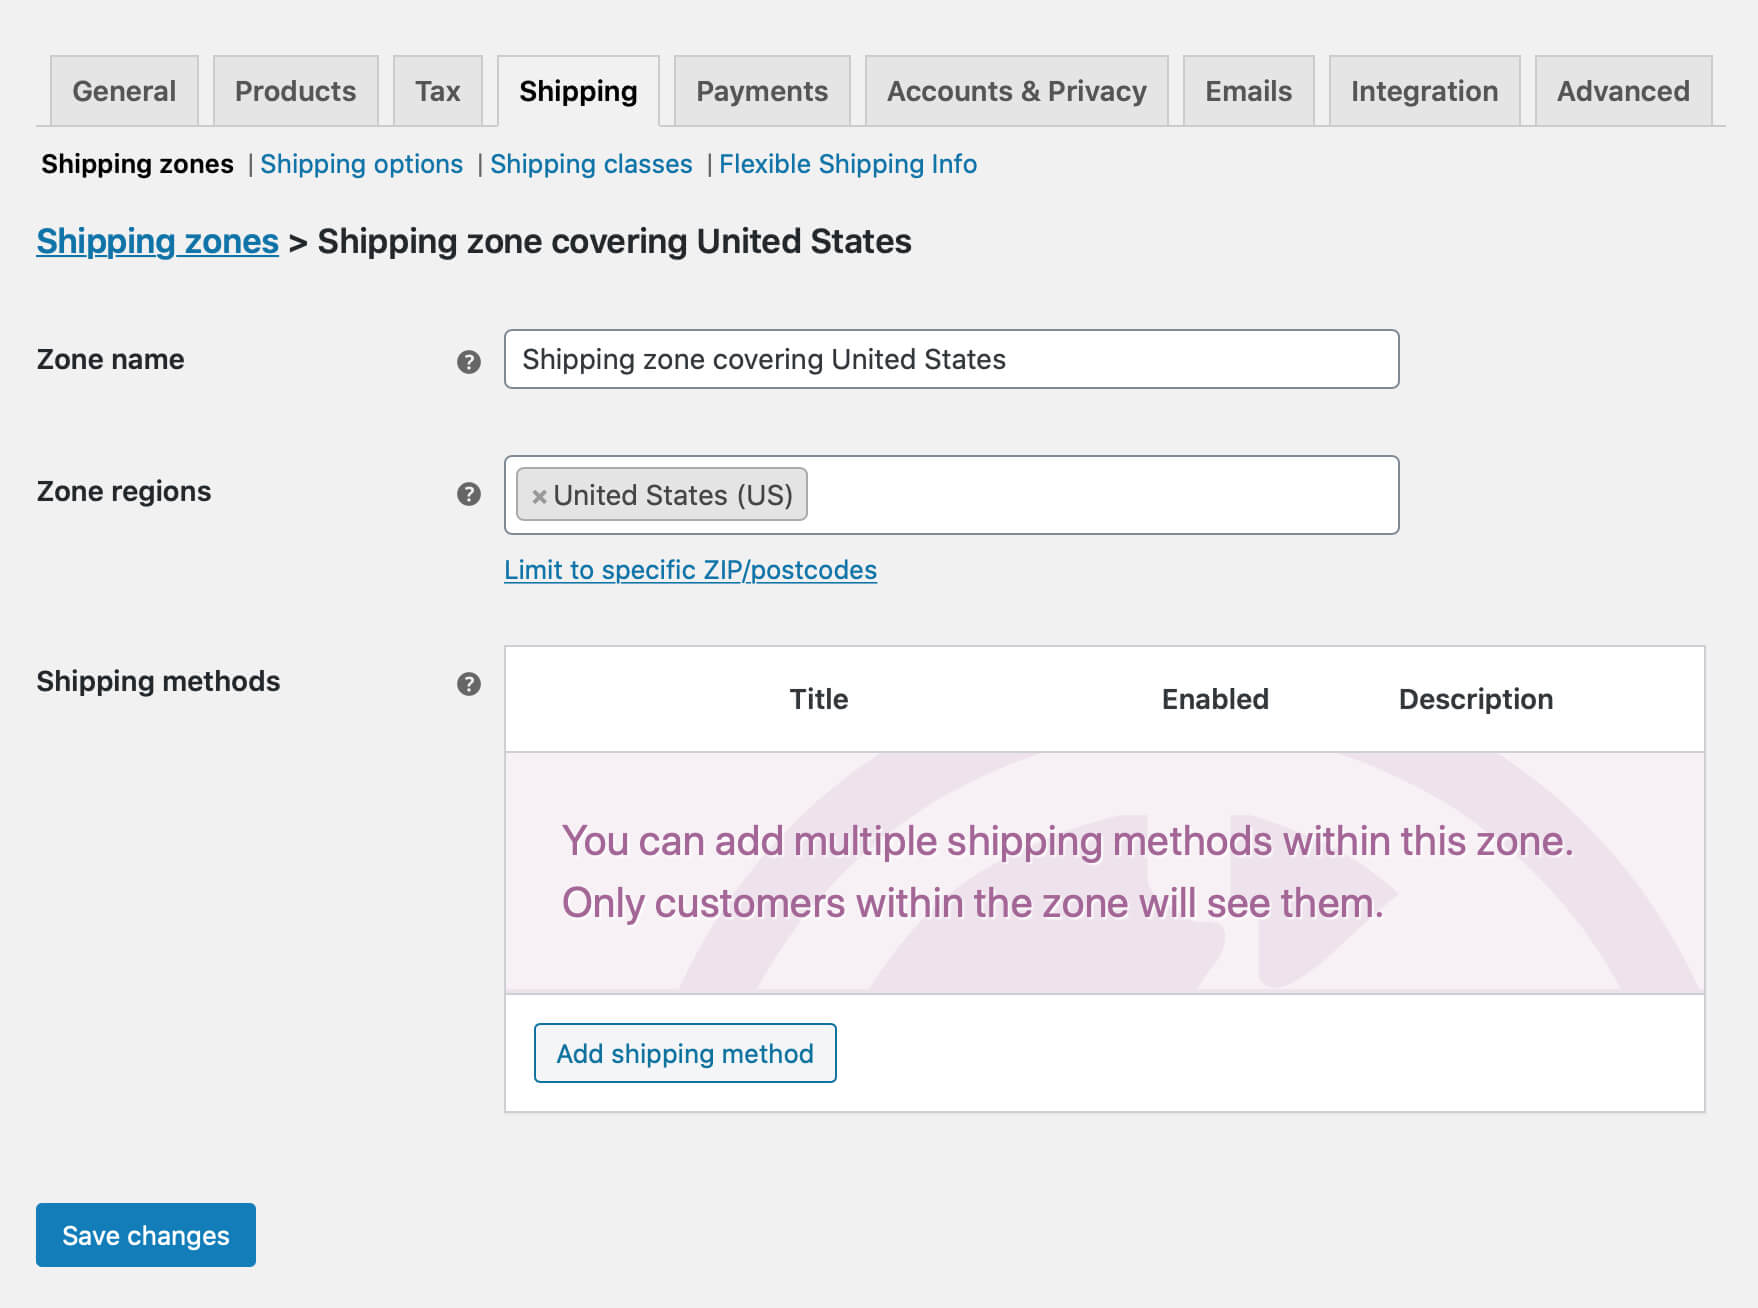
Hit the Add shipping zone button in the middle or the Add shipping zone at the top of the screen. You will be redirected to the new shipping zone settings:
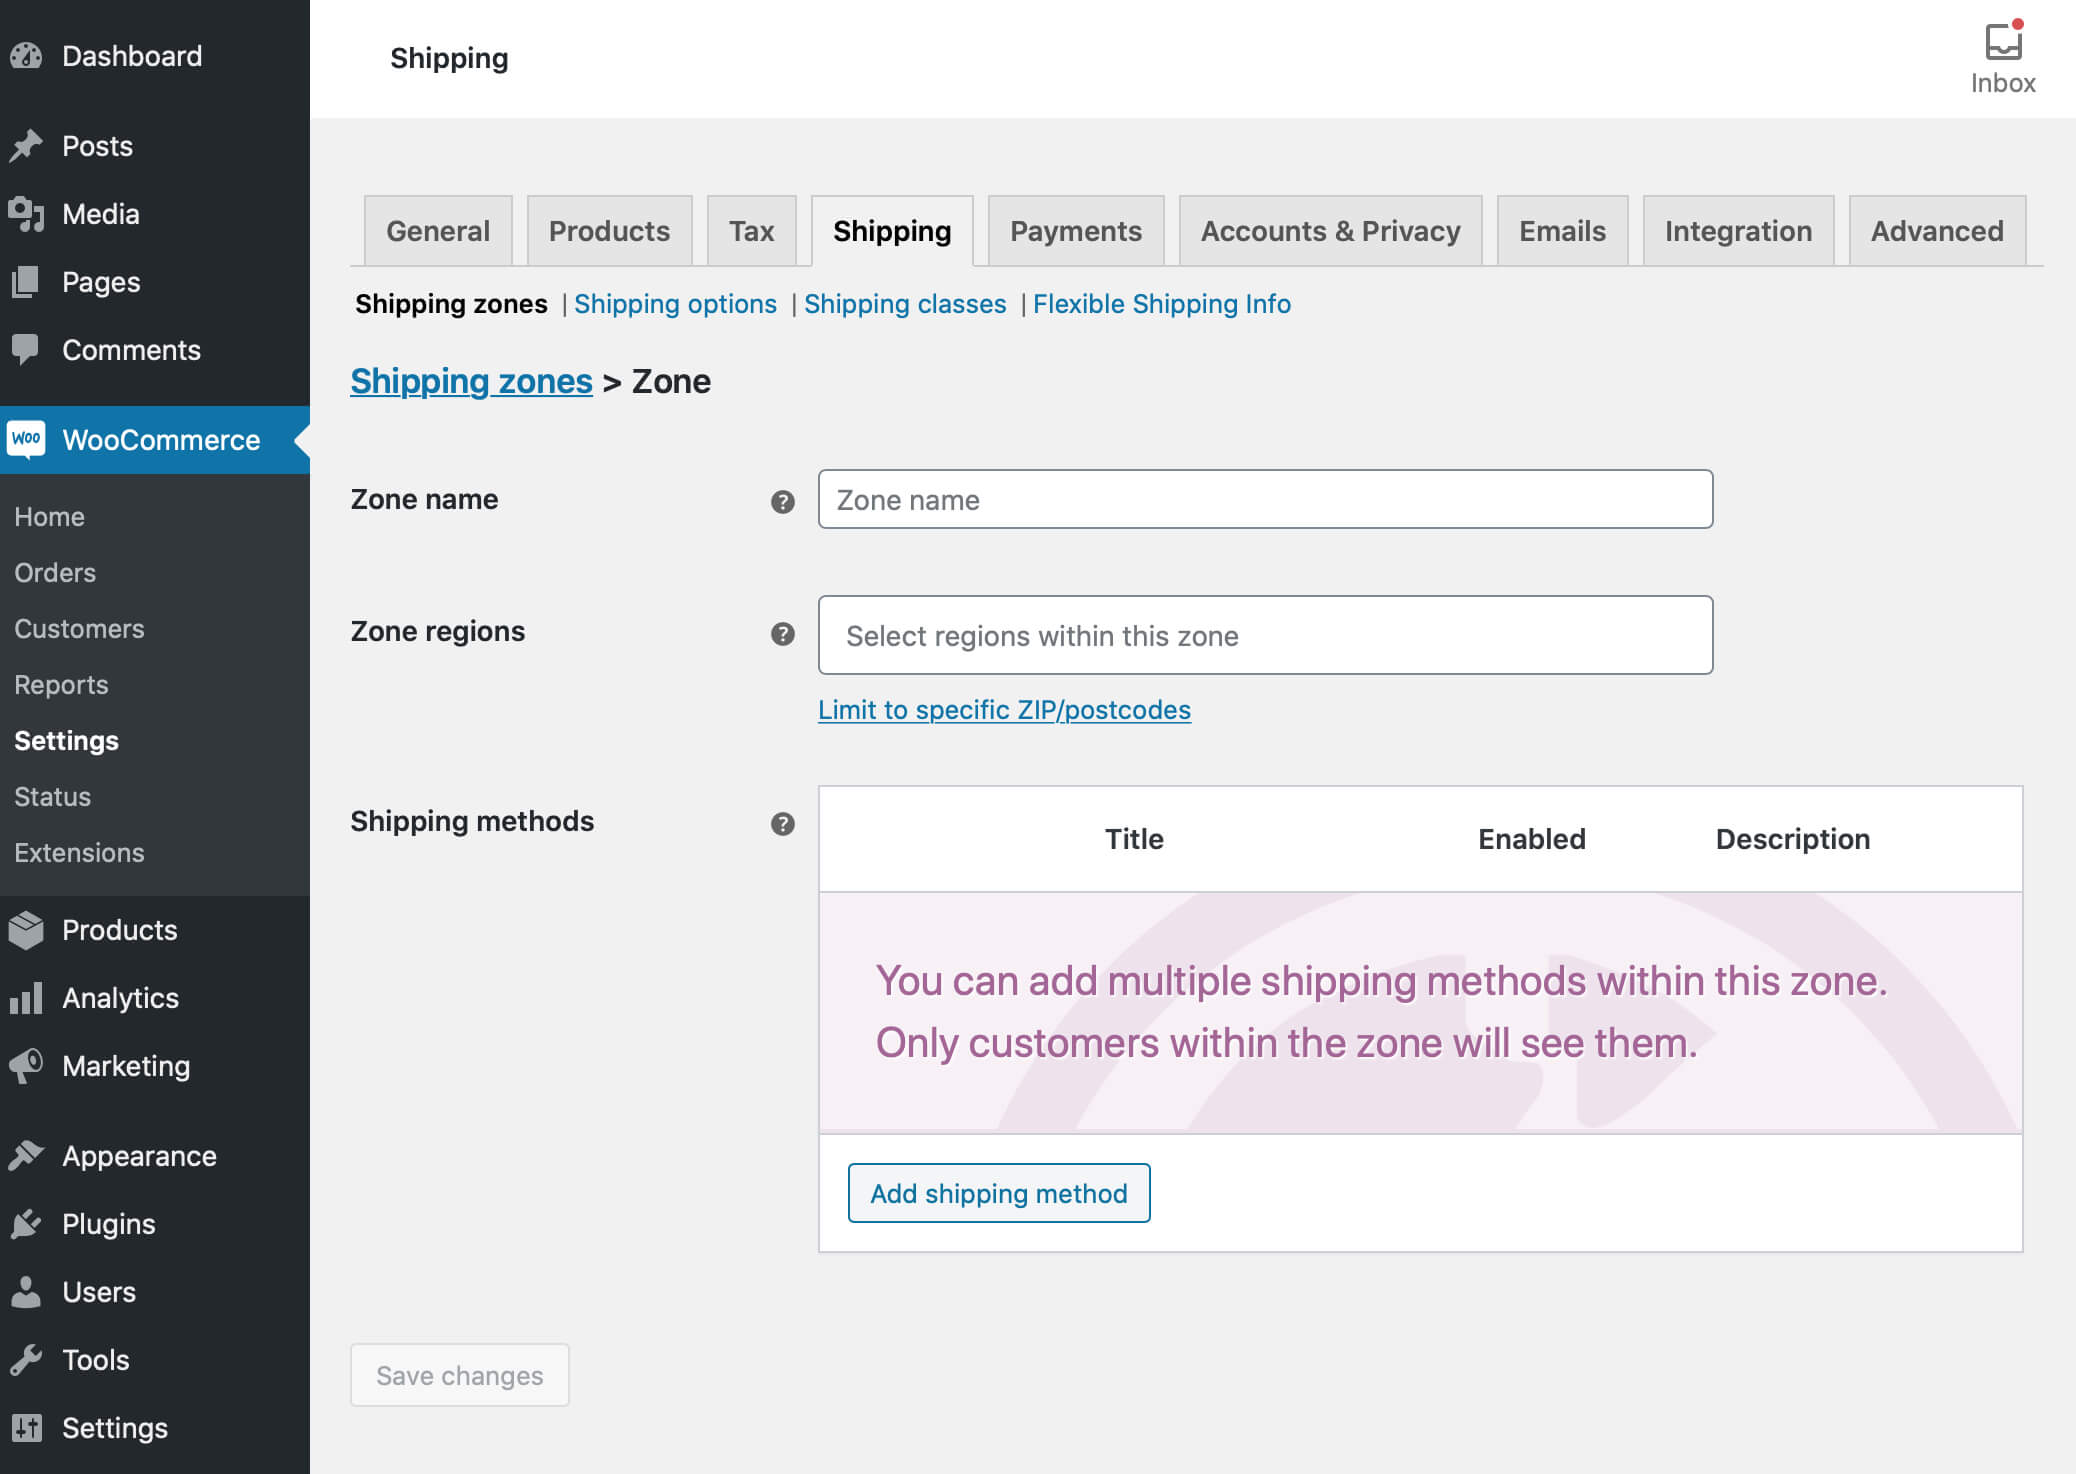
Define its name by filling in the Zone name field and select below the Zone regions which it should cover.
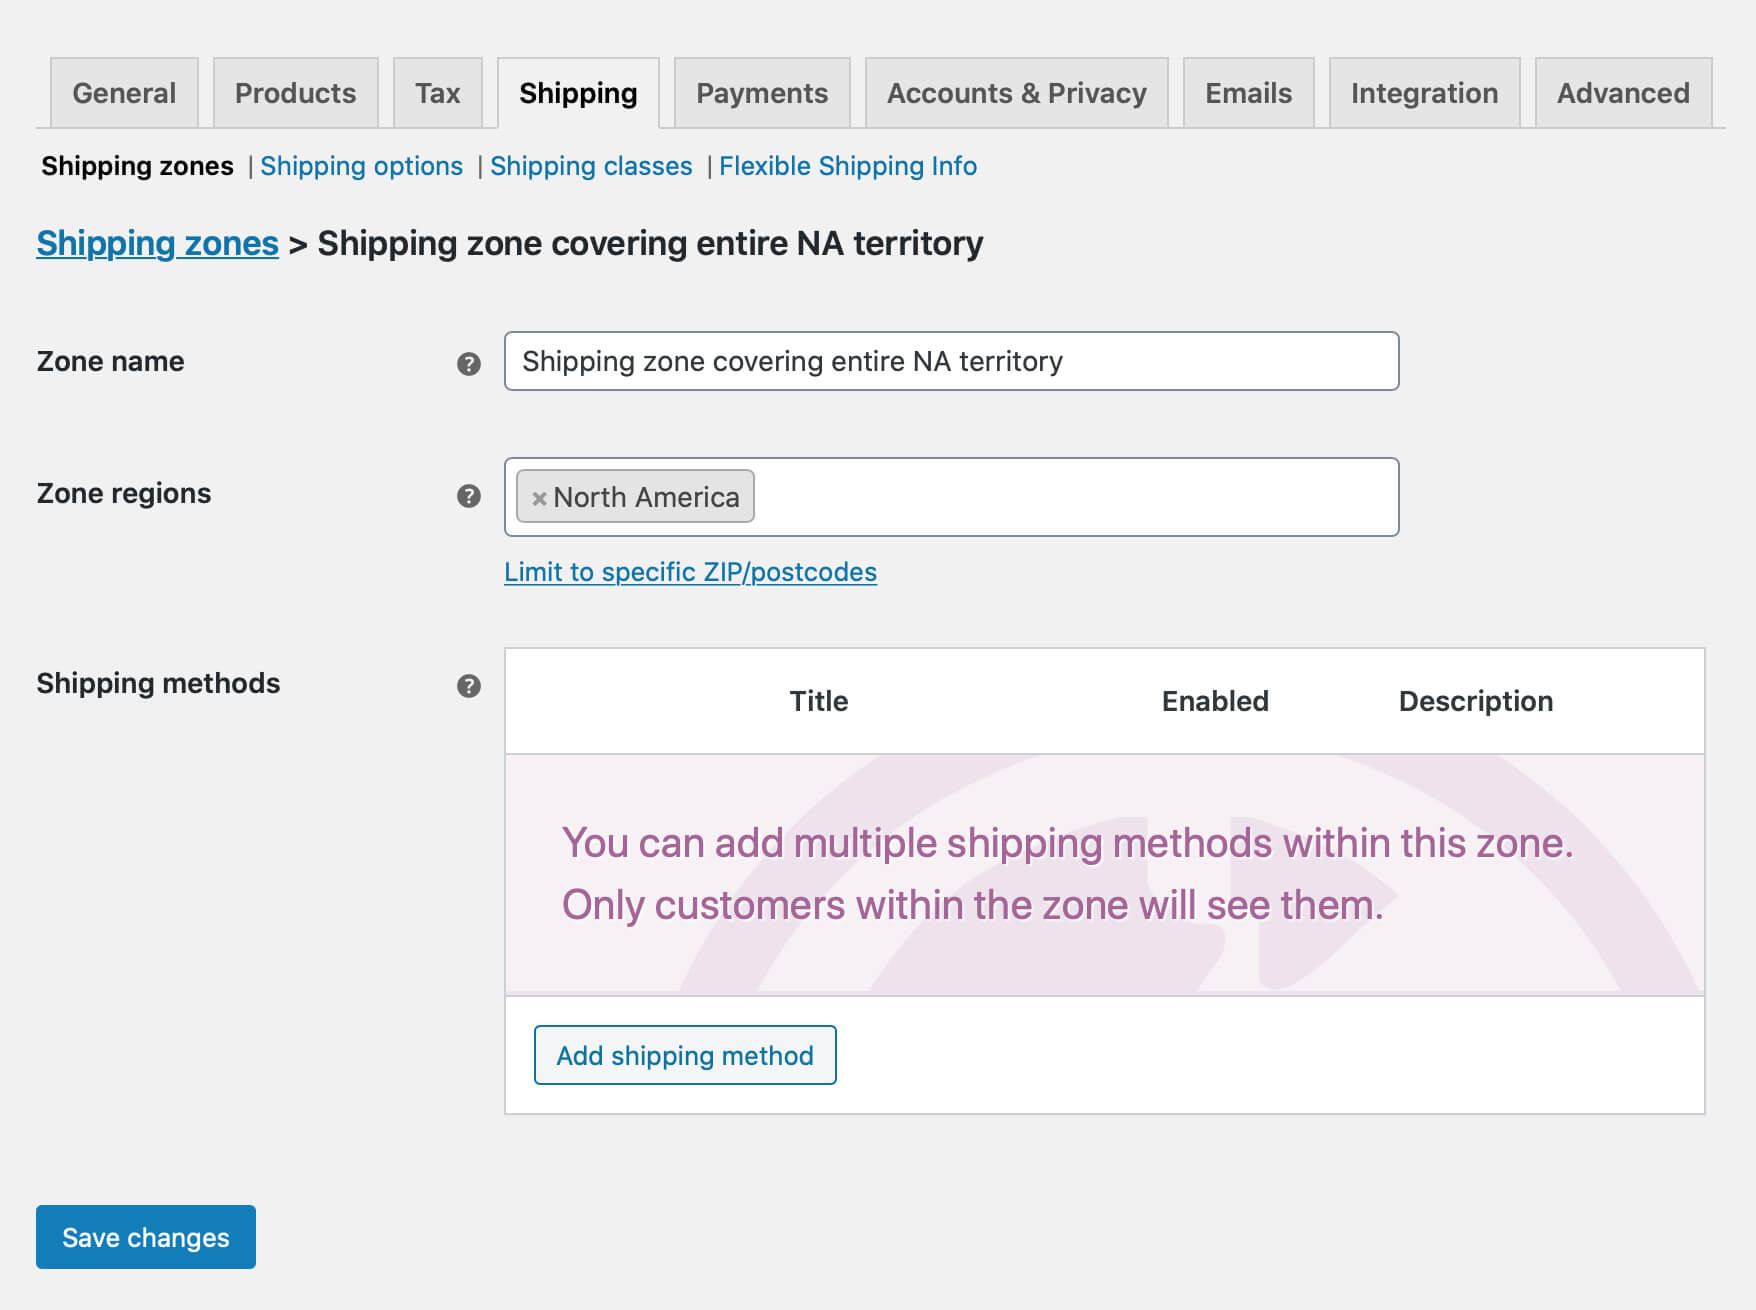
As I mentioned before you can set the shipping zone to cover the entire continent:
whole country:
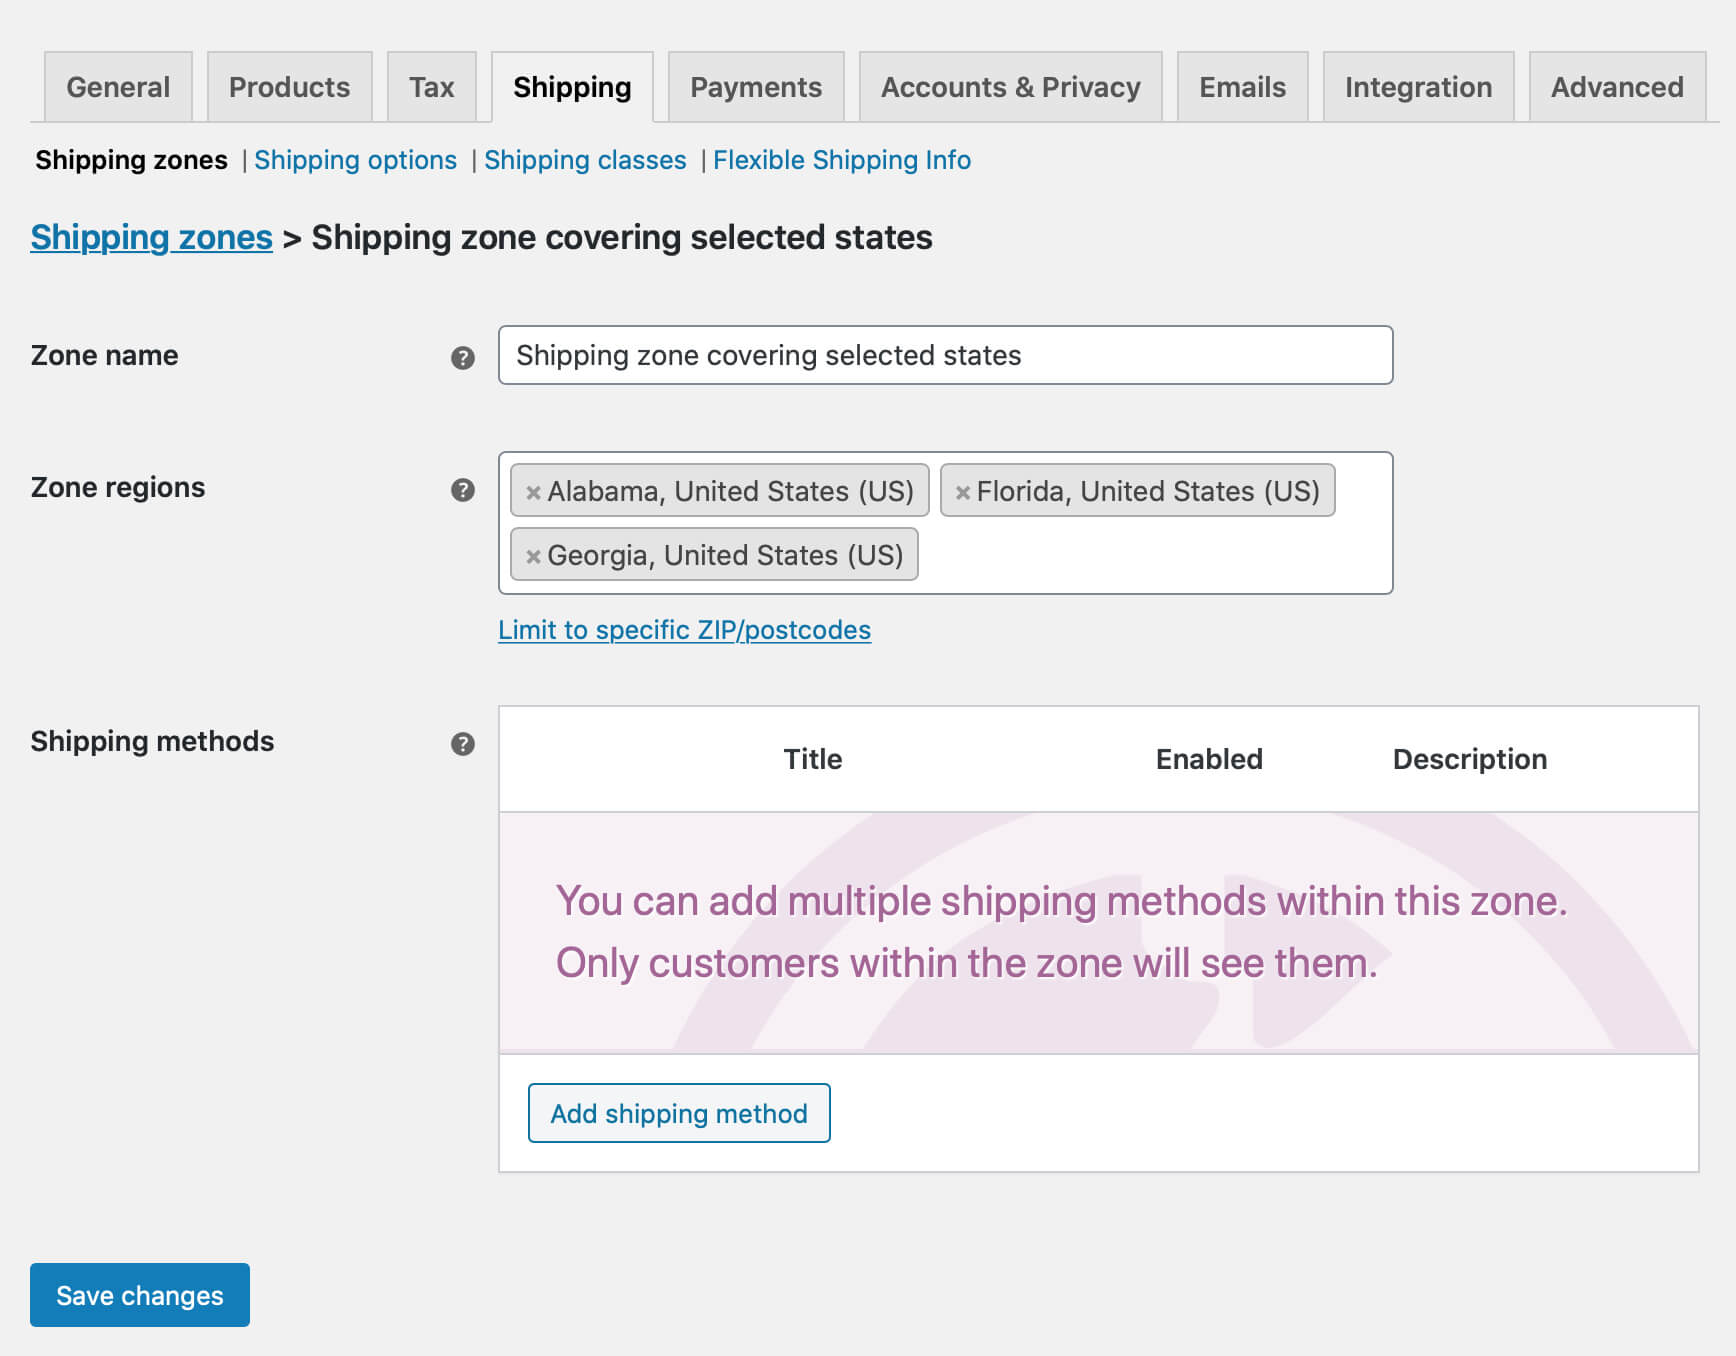
selected states:
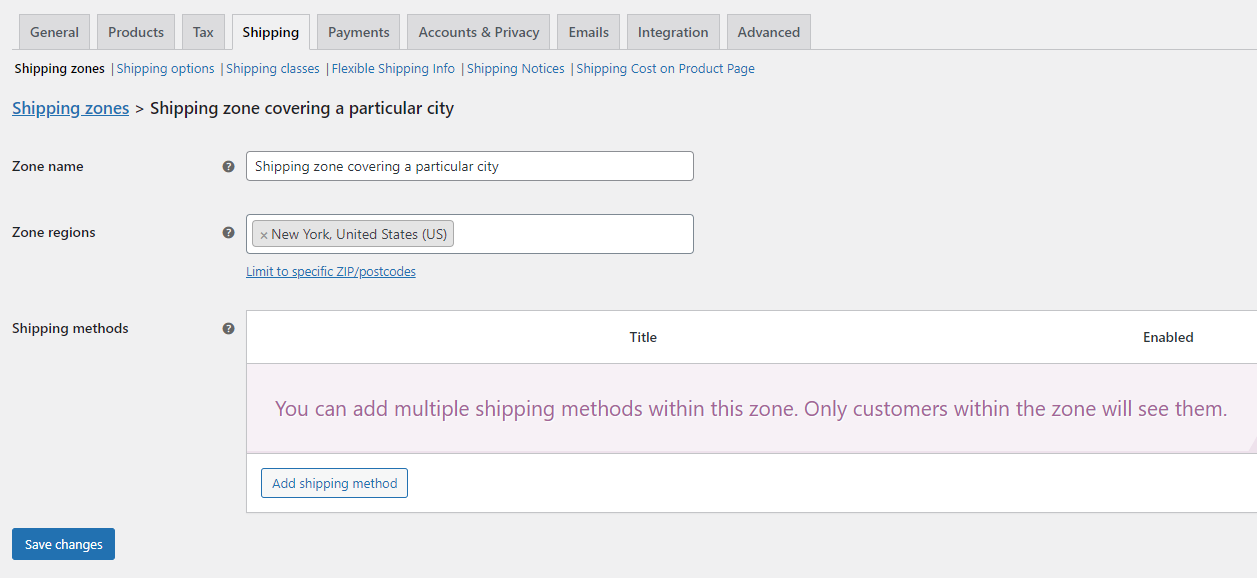
particular city:
or you can narrow it down and create the…
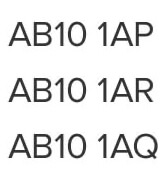
It is the most precise one and deserves some more attention. Once the Limit to specific ZIP/postcodes link is clicked the additional text-area field will appear below where you can put all the postcodes you want the shipping zone to be narrowed to. What’s most important here is that you can enter them in three different ways:
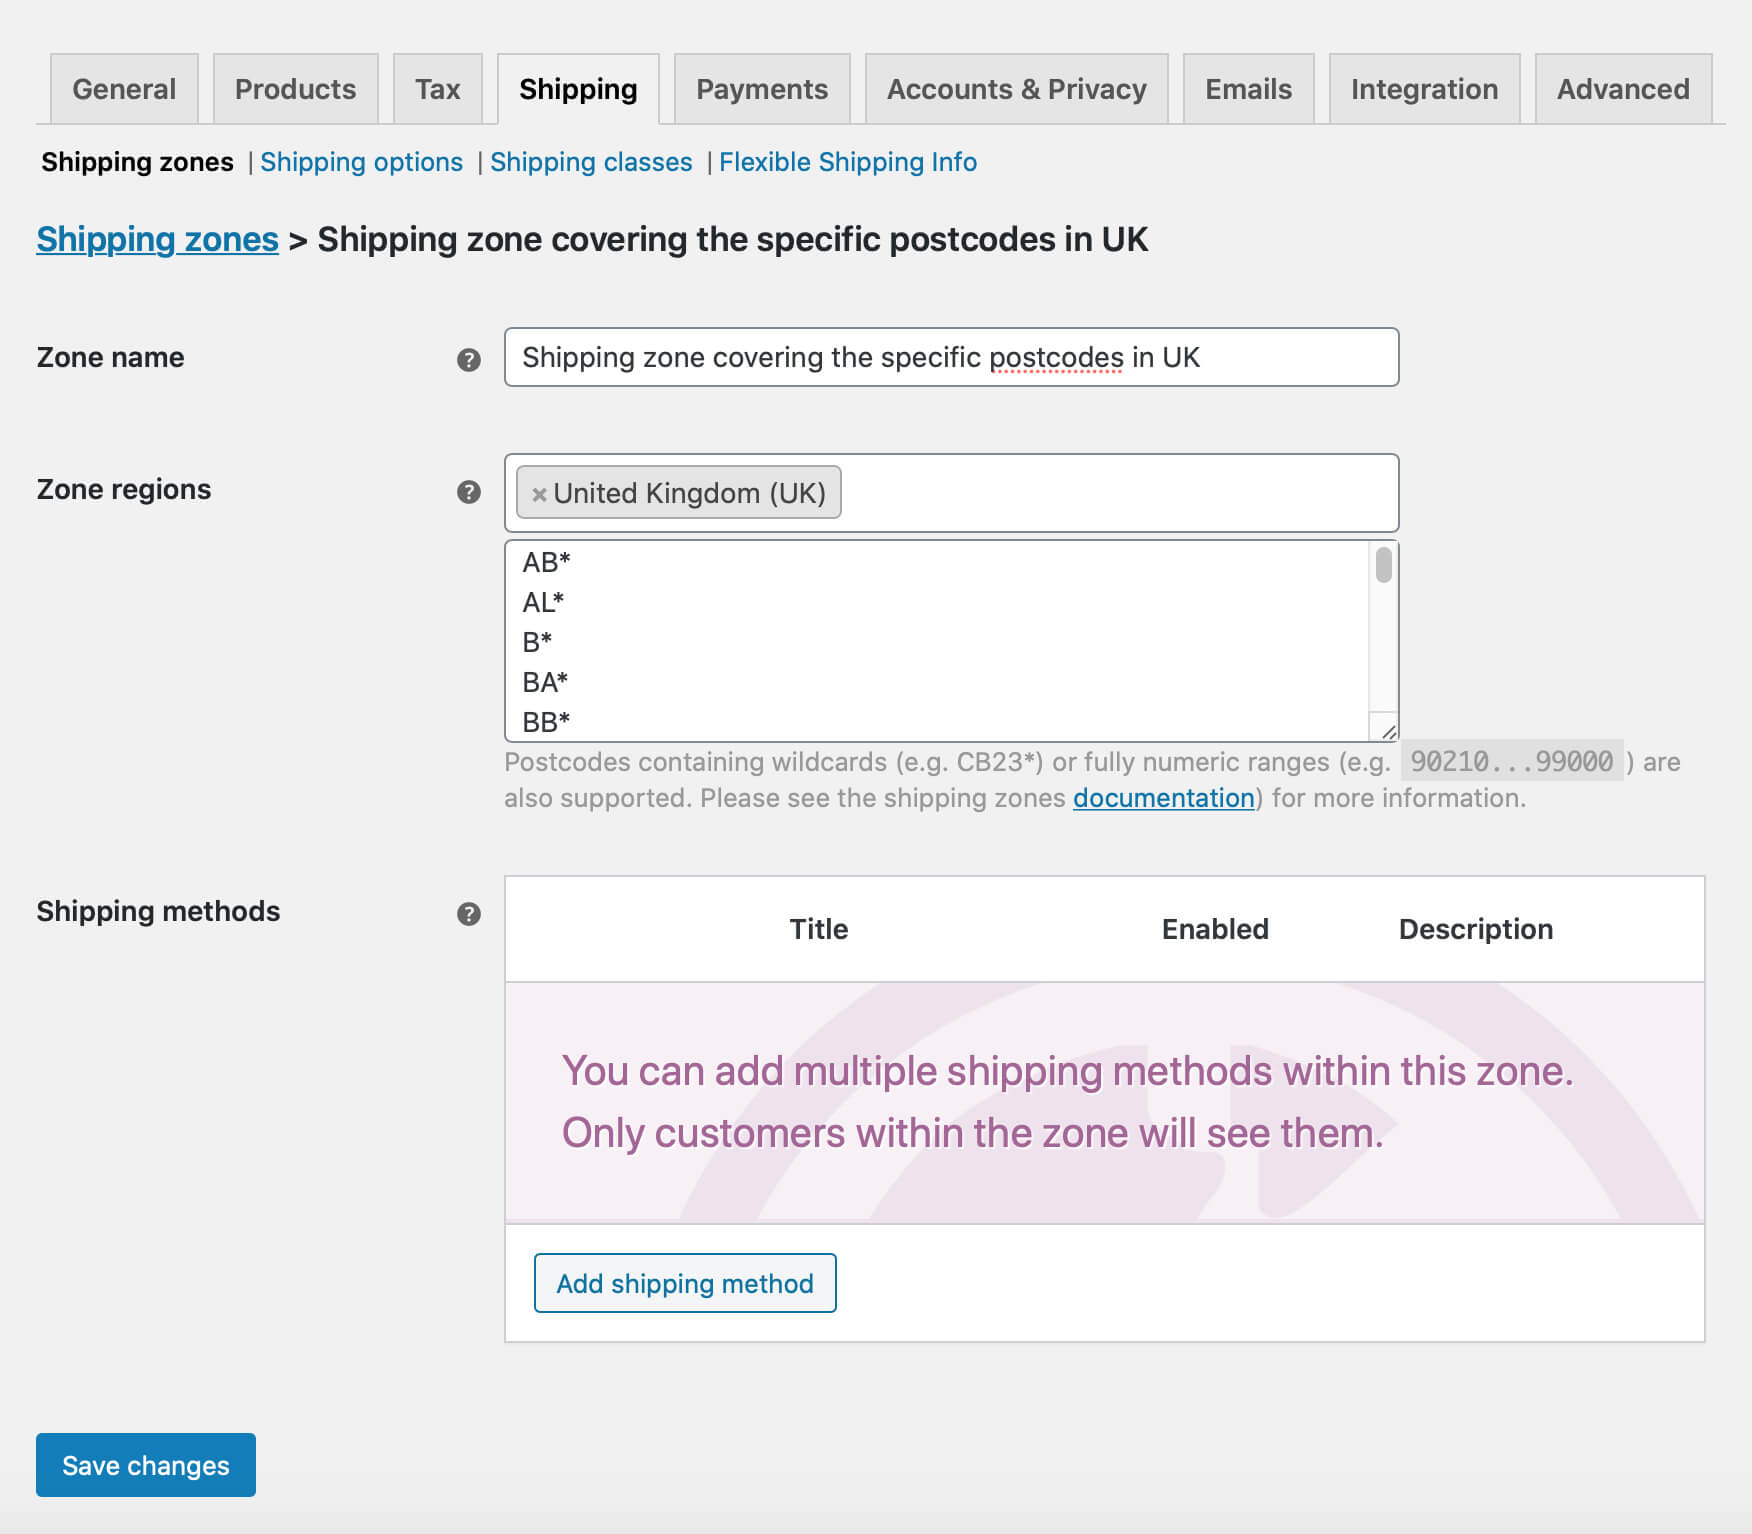
Once you created the shipping zone and set it up to fit your case confirm the whole process with the Save changes button.
Next, use the Add shipping method to add one right away.
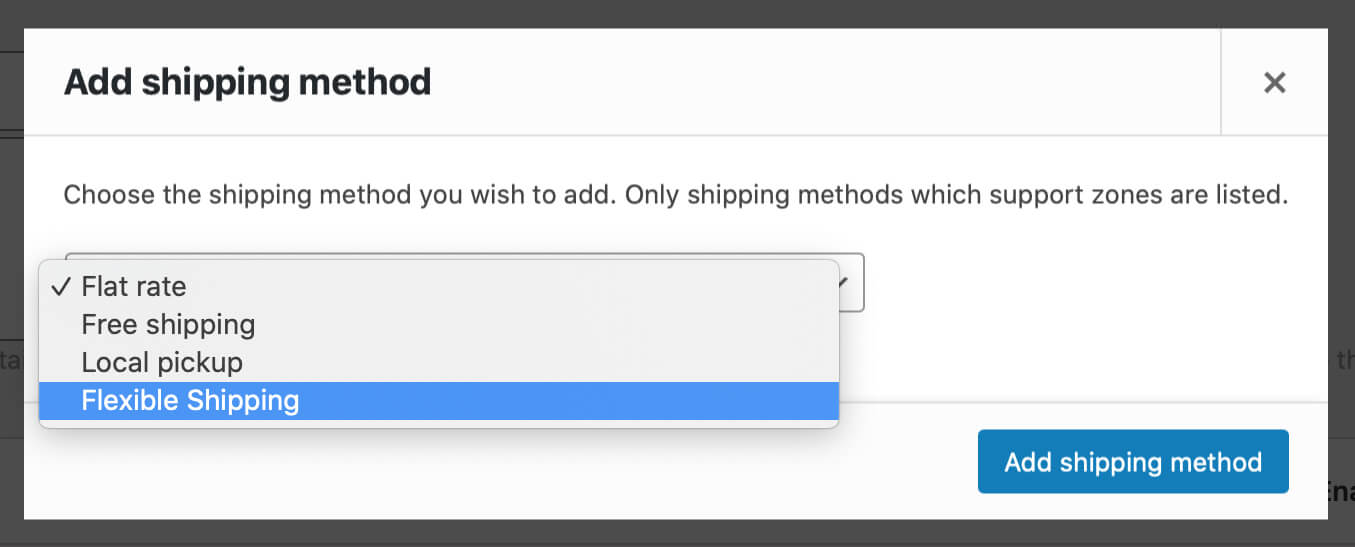
In the popup window, which should appear, choose Flat rate, Free shipping, Local pickup or Flexible Shipping method if you have the Flexible Shipping plugin installed. Then, configure it according to your needs. You can add as many shipping methods within a shipping zone as you want.
From this point you can easily
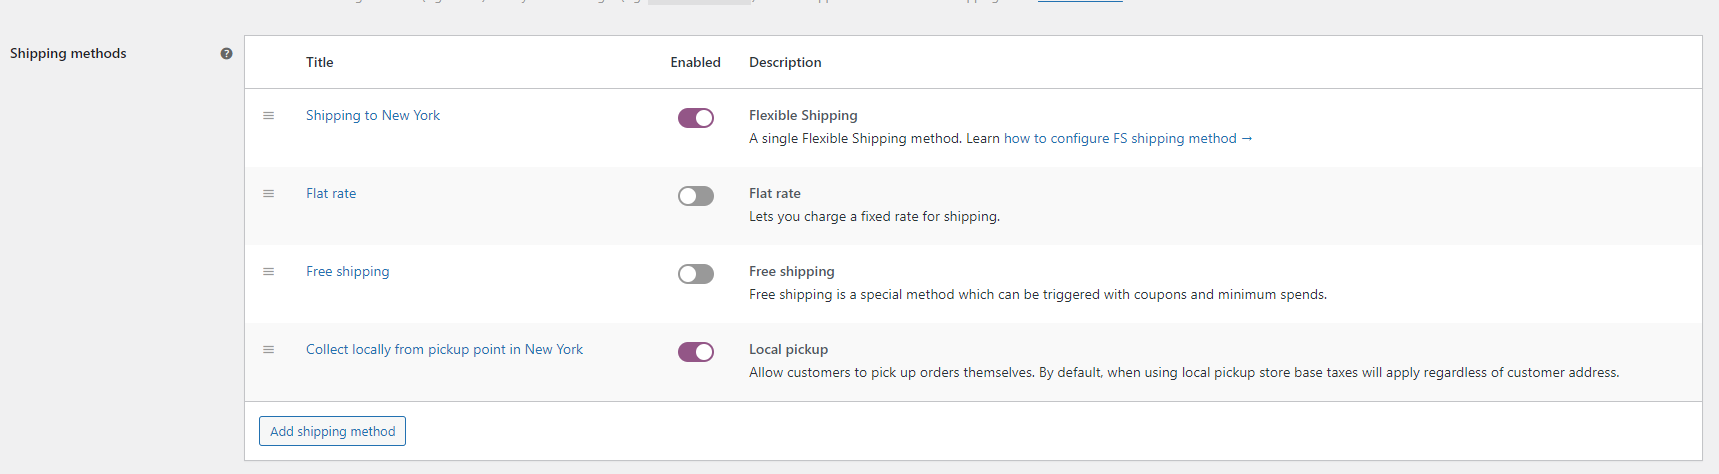
you’ve added within a shipping zone. Drag and drop them grabbing the ![]() icon on the left to change the order how they are displayed in the cart or checkout.
icon on the left to change the order how they are displayed in the cart or checkout.
Edit or delete them with the quick links appearing on hover. Use the toggle to switch them on and off on the fly. Easy as pie, isn’t it?
Once the shipping methods are configured save the changes one more time and voila! You’ve just configured a fully functional shipping zone in your WooCommerce shop. However, there are several things you need to know in order to make it work as a dream.
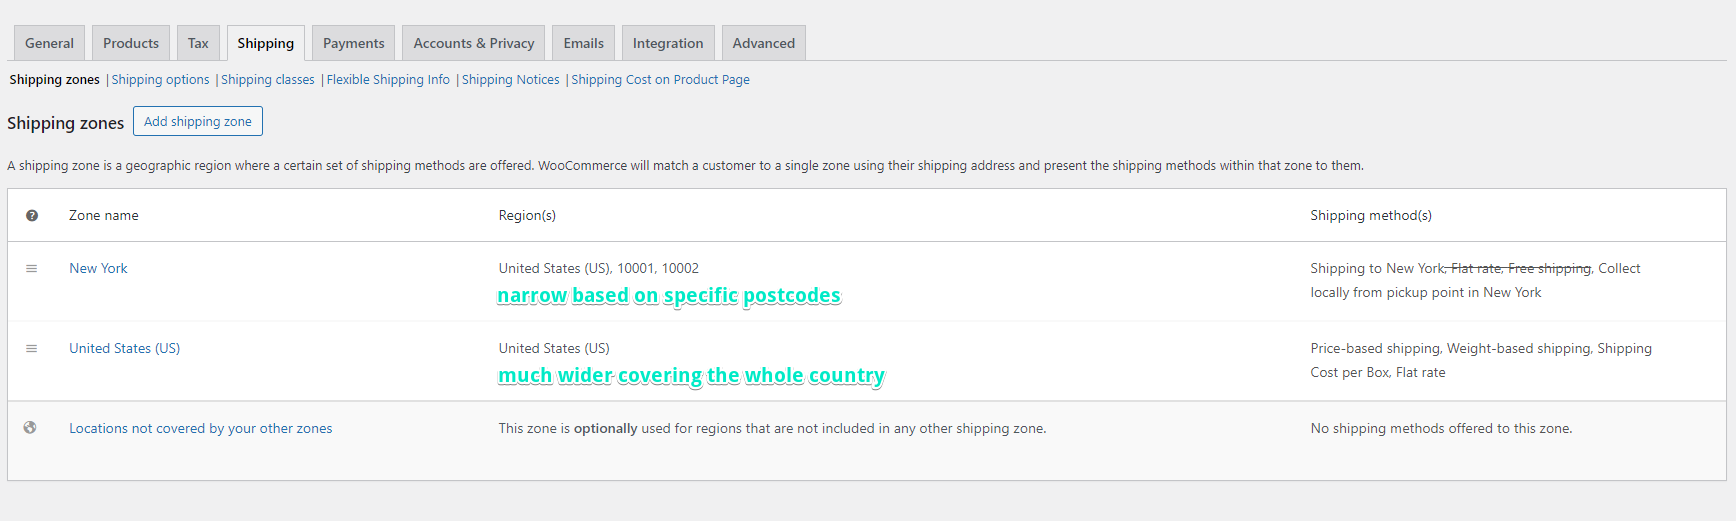
WooCommerce shipping zone matching mechanism takes the address entered in the cart and checks if it matches the defined shipping zones starting from the top to the bottom of the shipping zones list.
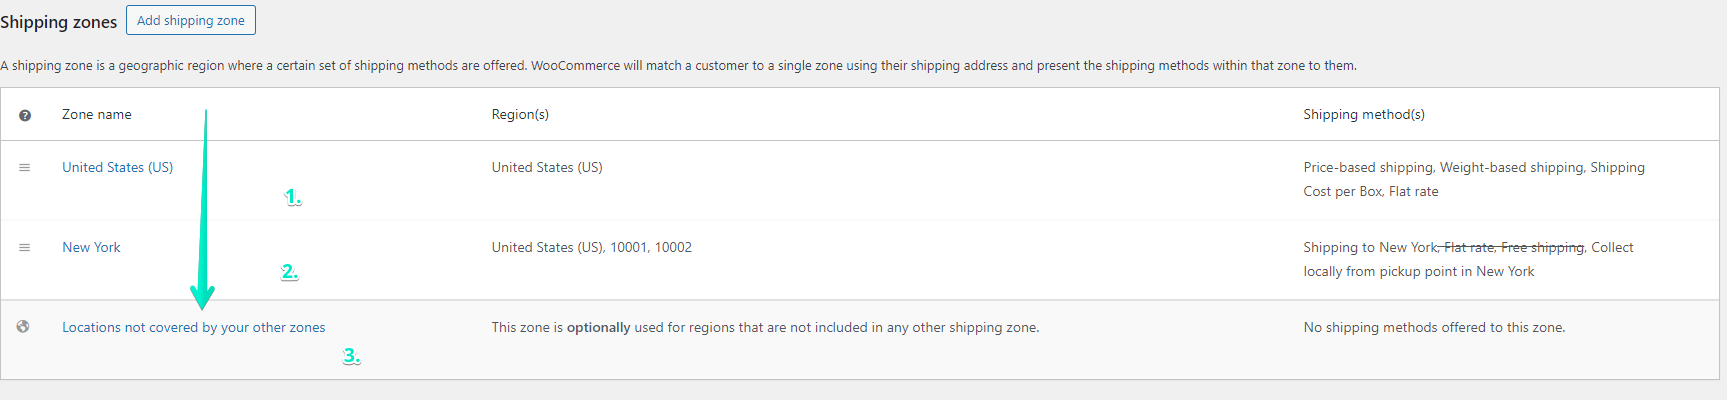
If the provided shipping destination matches e.g. the first zone, the next ones are not even being considered. As you can see above, the USA shipping zone which is the wider one, is placed higher than the narrower one shipping zone. To solve this out we simply need to change the shipping zones order, drag & drop them.
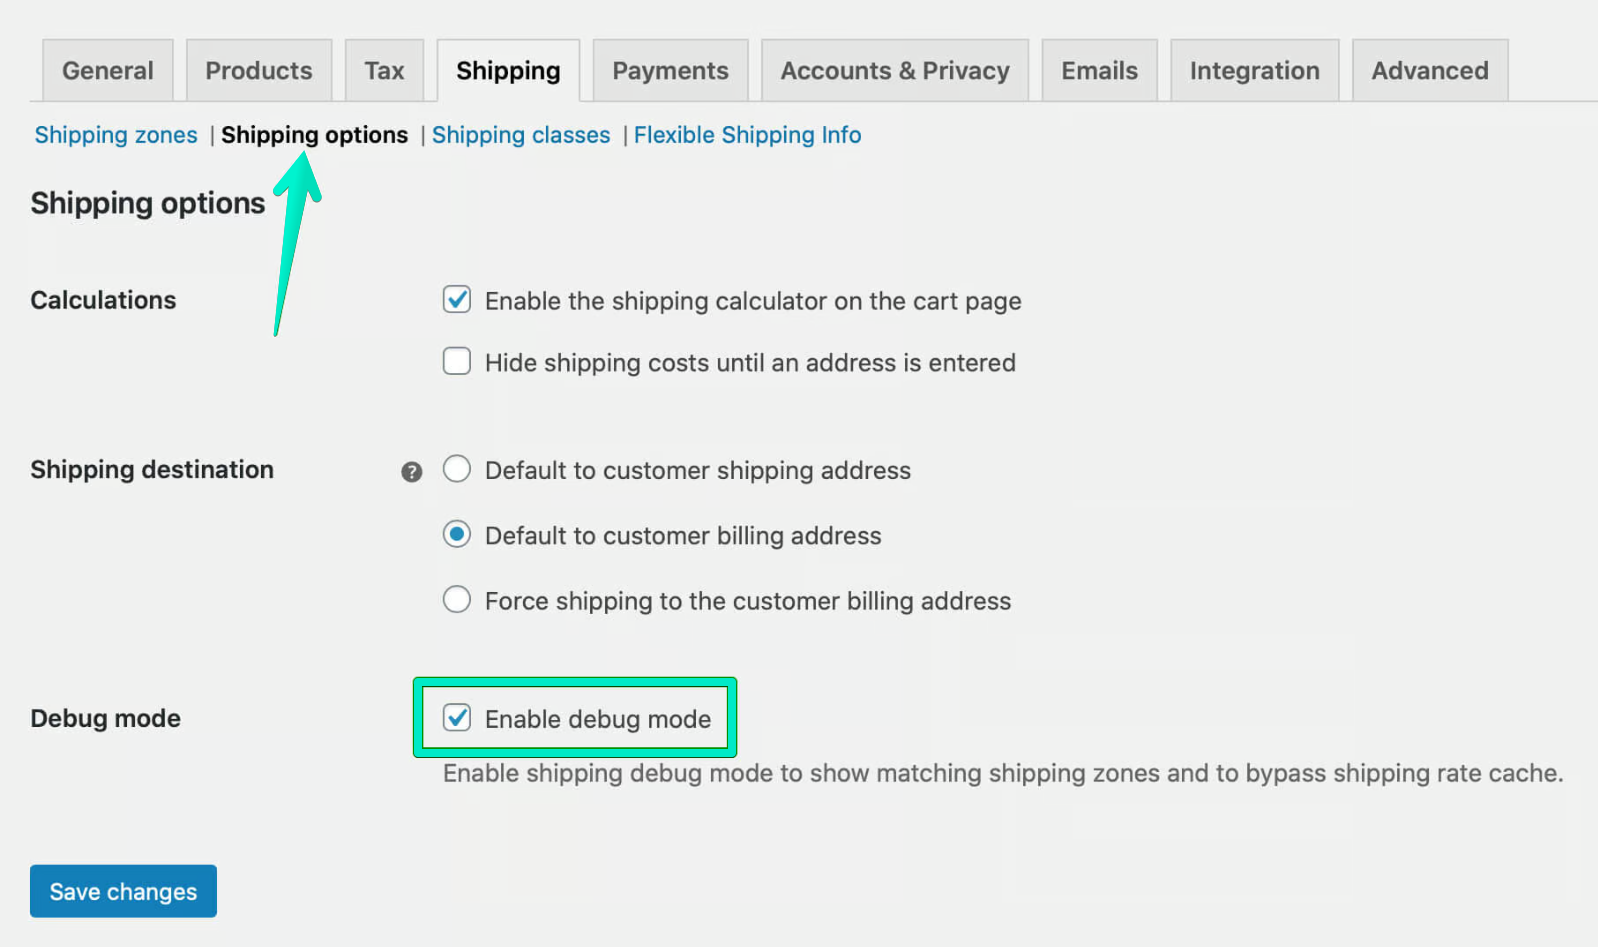
Once you turn the Debug mode on it will show you in the cart which shipping zone was matched to the entered shipping details. It’s a great help if it comes to troubleshooting when you experience any problems with the shipping configuration and it usually sheds some light on the situation.
Go back to the cart and check what it says. At the very top of the screen you should see the relevant notice:
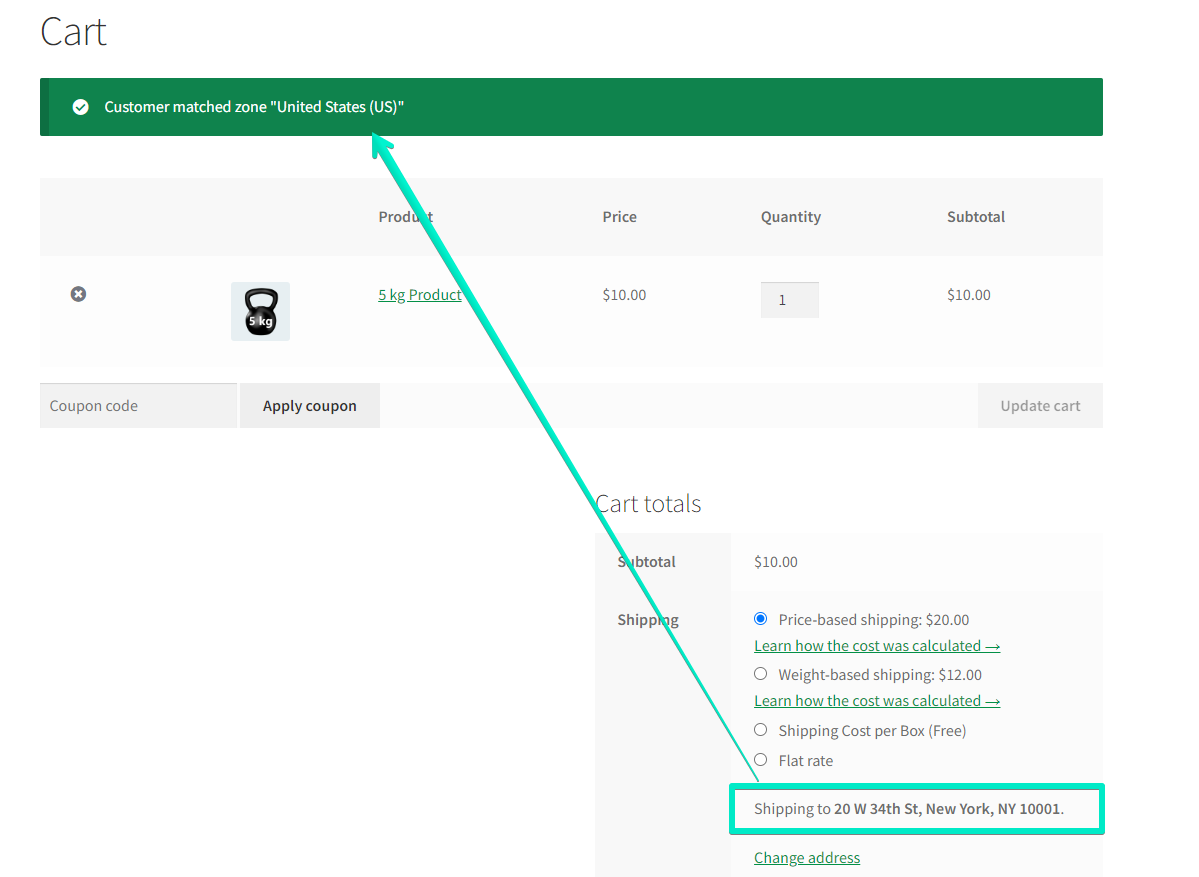
As it shows, the entered 20 W 34th St, New York, NY 10001 shipping destination wasn’t matched to the narrow New York shipping zone based on postcodes but to a much wider one covering the whole United States area(based on the example in the previous heading). Wondering why did it happen this way? In this case, the order of shipping zones needs correction.
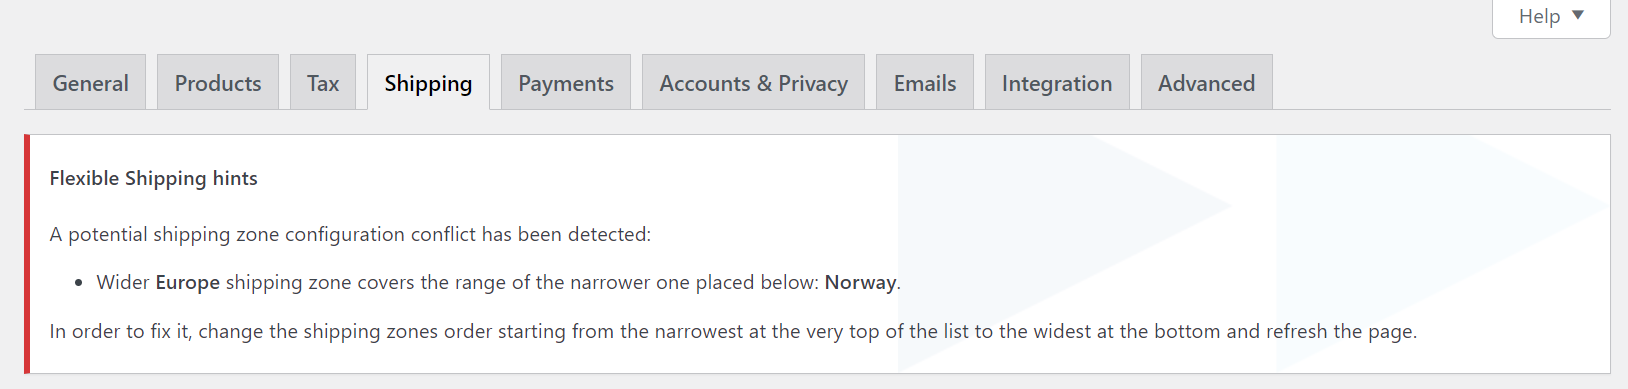
Setting up shipping zones in WooCommerce can be challenging. If you feel overwhelmed by the quantity of information you’ve read, I have good news: there is a tool which will simplify it. Go for Flexible Shipping plugin. It’s completely free and has the built-in Flexible Shipping hints, which display an error message in WooCommerce shipping zone settings if the plugin detects a potential shipping zone configuration conflict. You don’t need to remember everything you’ve just read. The plugin will be your personal assistant!
What’s more, it has many different shipping options which may boost your online store performance, such as:
and many more!
The best Table Rate Shipping for WooCommerce. Period. Create shipping rules based on weight, order totals, or item count.
View DetailsorAdd to cartRead more about conversion rate optimization in your store!
You’ve just learned everything you need to know about the WooCommerce Shipping Zones. I showed you step by step how to create, manage and configure them to meet your business. You’ve also got across the most common issues you might encounter and found out how to deal with them. I deeply believe you are now fully ready to take care of the shipping zones setup in your WooCommerce store. If there is still something bothering you or you find something unclear, feel free to leave your questions in the comments below.
Our team usually replies within a few hours. Ask away — we'll help you find the right solution for your store.


Learn how Octolize solutions helped WooCommerce store based in the United Kingdom set up shipping scenarios.
Learn how Octolize helped Shopify store based in the USA set up distance based rates with a usage of Octolize Distance Based Rates.

Learn how Octolize helped NGO set up their WooCommerce rates with a usage of Flexible Shipping PRO.
Hi, nice topic but in combination with W3 Total Cache the query is slow down: W3TCDbCache_Wpdb->default_query
What can we do?
Hi Florian, are you sure this is connected to our plugin?
Yes of course. You load the shipping zones on all pages with products and not only on checkout. Thats a “problem” for performance.
Thanks for pointing that out. We passed this to our developers to verify.
Perfect. You can test it with w3 total cache. Its tables which loaded on every site with products. Hope you find the best way. If you need help, you can write me an email over http://www.pictibe.de
Hi Florian,
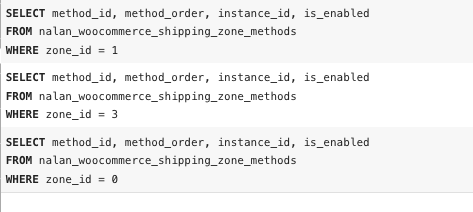
We’ve checked the queries that are generated by our plugin, and in a clean WP/WC+FS installation we’ve found that the mentioned zone queries are produced only on cart/checkout page.
Therefore, the most probable cause of described behaviour is that there is a theme or another plugin that is calling one of the shipment hooks used in cart/checkout to which FS is hooked.
nice
I have a problem with my pages that have their plugins, I want to contact support but apparently it is only for the pro version. And it was working fine, but from time to time I get an error “Wider Zone 7 Rest of the World shipping zone covers the range of the narrower one placed below” but I already configured it from the narrowest to the widest and vice versa as your page says, but it doesn’t work.
Hi Gerardo, the notice you’ve mentioned should be displayed only when shipping zones’ ranges are overlapping each other. Could you please show how your shipping zones are currently configured?